


Build Your Own Solar Pool Heater
Transform your backyard pool into a warm oasis with this cost-effective DIY solar heating system that harnesses the power of the sun
Looking to extend your swimming season without breaking the bank on heating costs? This innovative DIY solar pool heater project offers an eco-friendly solution that captures solar energy to warm your pool water naturally. By following these straightforward steps, you can create an efficient heating system using readily available materials and basic tools. The best part? Once installed, it operates completely free using nothing but sunshine, making it both environmentally responsible and wallet-friendly for years to come.
Step 1: Construct The Solar Collector
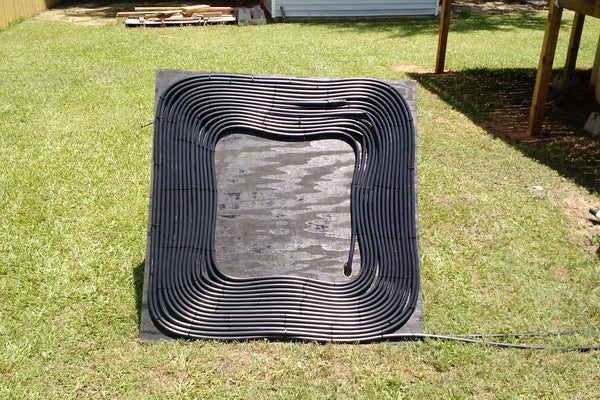
The foundation of your solar heating system begins with building the collector panels. Start by gathering sheets of plywood cut to your desired dimensions and painting them matte black to maximize heat absorption. Black surfaces are remarkably effective at capturing and retaining solar radiation, which is essential for heating efficiency.
Once your base panels are prepared, you'll need to secure black irrigation tubing or flexible pipe in a serpentine pattern across the surface. This coiled arrangement ensures water flows through the maximum surface area exposed to sunlight. Use weather-resistant fasteners or cable ties to hold the tubing firmly in place, making sure there are no kinks that could restrict water flow. The key is creating as much contact between the tubing and the heated black surface as possible.
Step 2: Gather Your Materials
Before diving into construction, assemble all necessary components to streamline your build process. You'll require plywood panels for the collector base, matte black paint for optimal heat absorption, flexible black tubing suitable for water circulation, PVC pipes for plumbing connections, various pipe fittings and adapters, waterproof sealant, mounting hardware, and a compatible water pump if your existing pool system doesn't provide adequate circulation.
Take inventory of your pool's existing filtration system to determine whether you can tap into the current pump or if you'll need an additional circulation pump dedicated to the solar heater. Having everything on hand before starting prevents frustrating mid-project trips to the hardware store and ensures a smooth installation experience.
Step 3: Position Your Solar Panels
Location is everything when it comes to solar heating efficiency. Scout your backyard for the spot that receives the most direct sunlight throughout the day, typically a south-facing area with minimal shade from trees, buildings, or structures. Your roof, a ground-mounted rack, or even a fence can serve as excellent mounting locations.
Angle the panels between thirty to forty-five degrees to capture maximum solar radiation based on your latitude. The ideal tilt varies by geographic location and season, but this range works well for most residential installations. Secure the panels firmly using weatherproof mounting brackets that can withstand wind, rain, and temperature fluctuations. Proper positioning can mean the difference between mediocre performance and exceptional heating results.
Step 4: Connect The Plumbing System
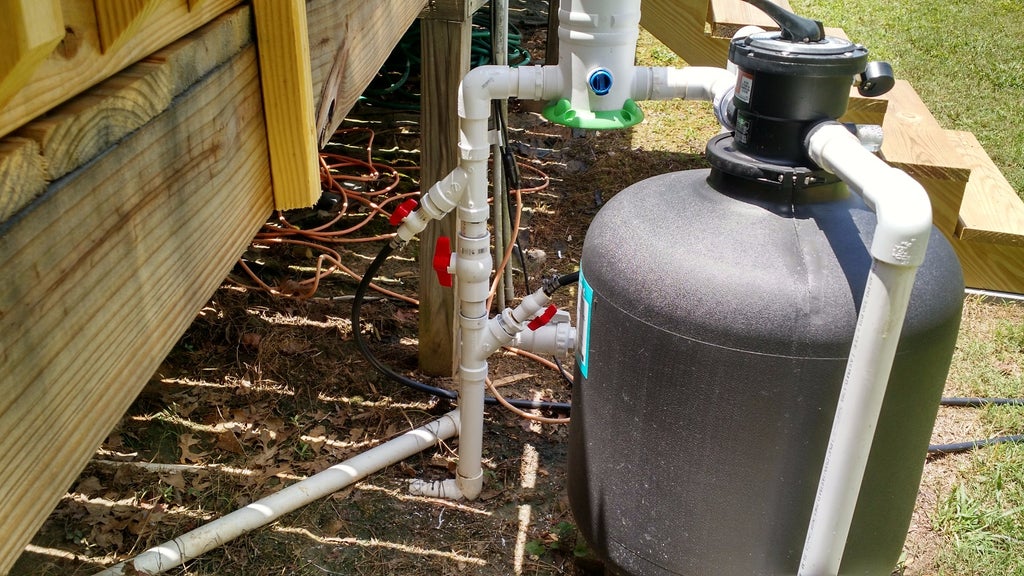
Now comes the critical step of integrating your solar collector into your pool's circulation system. Run supply lines from your pool's pump outlet to the inlet of your solar panel array using appropriate diameter piping. The water will travel through the heated tubing, absorb warmth from the sun-baked collector, and return to your pool significantly warmer.
Install shut-off valves at strategic points to allow you to isolate the solar heater for maintenance or during winter months when heating isn't needed. Use PVC primer and cement to create watertight joints, and consider adding a bypass valve that lets you divert water flow when you don't need heating. Test all connections thoroughly for leaks before putting the system into regular operation. Proper plumbing ensures efficient water flow and maximizes heat transfer from the solar collectors to your pool.
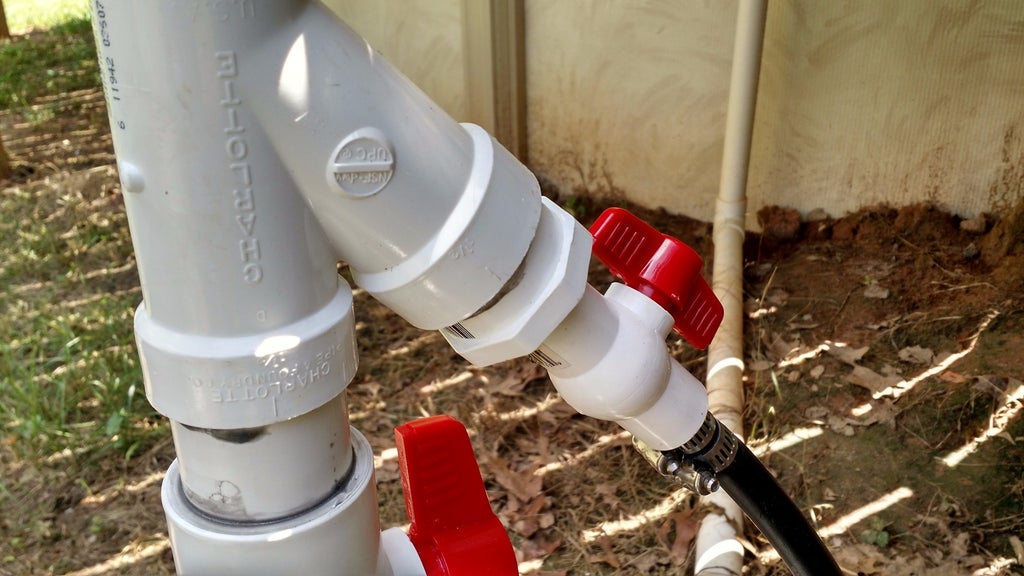
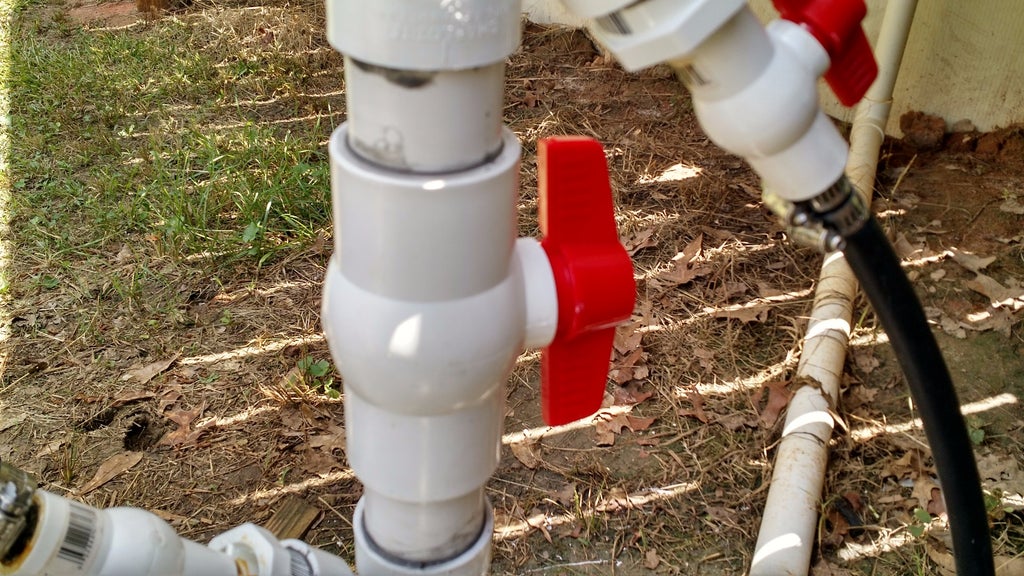
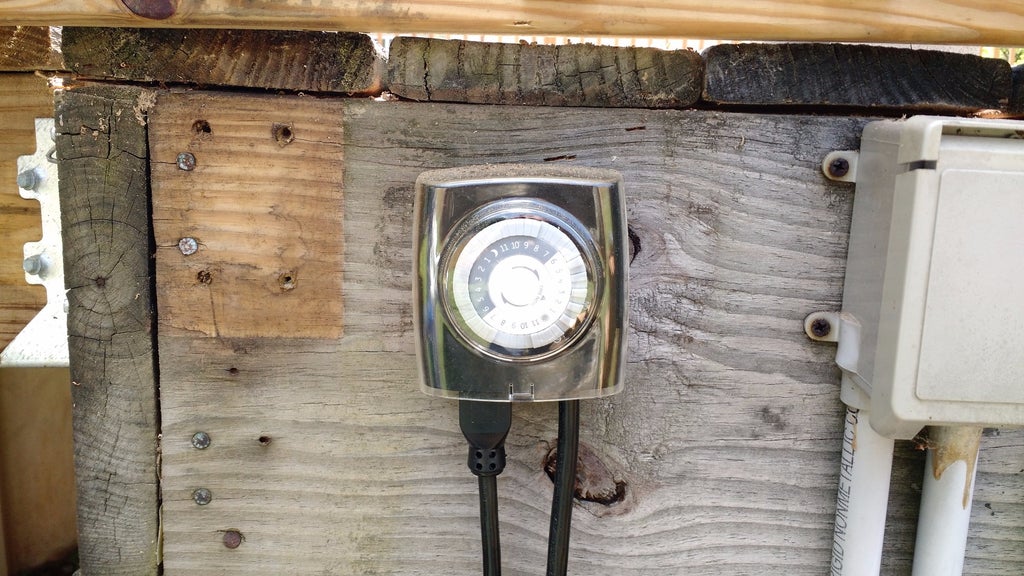
Step 5: Install Control Valves

Adding control valves gives you flexibility over your heating system's operation. Install three-way valves at both the inlet and outlet of your solar panel array, allowing you to easily direct water flow either through the solar heater or bypass it completely when heating isn't desired.
For enhanced automation, consider installing a differential temperature controller that monitors both the collector temperature and pool water temperature. When the collector is warmer than the pool, the controller automatically opens valves to circulate water through the solar panels. When clouds roll in or evening approaches and the collector cools down, the system automatically bypasses the panels. This intelligent control maximizes efficiency without requiring constant manual adjustment and prevents heat loss during unfavorable conditions.
Step 6: Test And Optimize Performance
With everything installed, it's time to fire up your system and evaluate its performance. Turn on your pool pump and direct water flow through the solar collectors, carefully inspecting every joint and connection for any signs of leakage. Address any drips immediately with additional sealant or by tightening fittings.
Monitor the temperature difference between the water entering and exiting the solar panels on a sunny day. You should observe a noticeable temperature increase, typically several degrees depending on flow rate, panel size, and sun intensity. If heating seems insufficient, consider adding additional collector panels to increase your total absorption surface area. Fine-tune your valve settings to find the optimal flow rate that balances circulation speed with adequate heating time in the collectors. The goal is giving water enough residence time in the panels to absorb maximum heat without slowing flow so much that overall system efficiency suffers.
Step 7: Enjoy Your Heated Pool
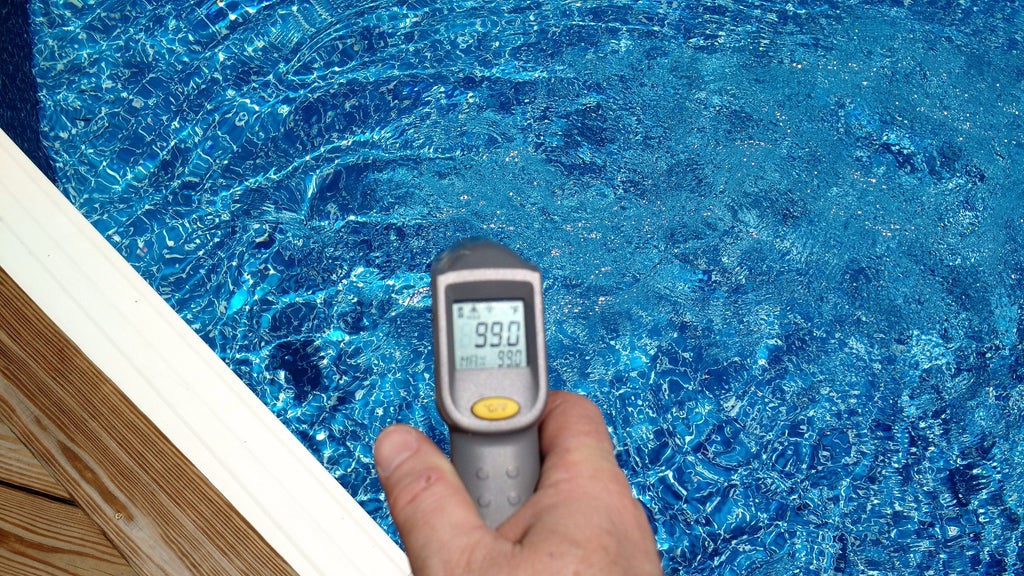
Congratulations! Your DIY solar pool heater is now operational and ready to extend your swimming season well beyond the typical summer months. On bright, sunny days, you'll notice your pool temperature climbing steadily, often reaching comfortable swimming temperatures that would otherwise require expensive gas or electric heating.
Track your pool temperature over several days to understand your system's capabilities. Many homeowners find they can raise their pool temperature by ten to fifteen degrees Fahrenheit with adequate solar collector coverage. The beauty of solar heating is its zero operating cost once installed. You're harnessing free energy from the sun, reducing your carbon footprint while saving substantially on utility bills. Perform basic maintenance by periodically checking for debris accumulation on panels and ensuring connections remain watertight. With minimal upkeep, your solar pool heater will provide years of comfortable, cost-free swimming enjoyment right in your own backyard.
Ready To Simplify Your Solar Heating?
While DIY projects are rewarding, a professional solar heating kit offers hassle-free installation and proven performance
Solar Water Heater KitMaintenance Tips For Longevity
To keep your solar pool heater operating at peak efficiency for years to come, establish a simple maintenance routine. Before each swimming season, inspect all tubing for cracks or UV damage, check mounting hardware for rust or looseness, and clear any leaves or debris that may have accumulated on the collector panels. Clean the black surface occasionally to remove dust and pollen that can reduce heat absorption.
In regions with freezing winters, properly winterize your system by draining all water from the collectors and lines to prevent ice damage. Store removable components in a protected location if possible. Come spring, perform a thorough inspection before restarting the system. With these straightforward maintenance steps, your solar heater will deliver reliable, eco-friendly pool warming season after season, making every backyard swim more enjoyable while keeping energy costs at bay.