


 Damage
  Loss
Loss  Theft
Theft 


Step-by-Step Mini Split Air Conditioner Installation
Cool or heat any space with a professional-grade ductless system — a smart DIY approach for lasting comfort.
Installing a mini split AC — also referred to as a ductless air conditioning system — is one of the most effective ways to efficiently regulate the temperature in your home without the hassle of extensive ductwork. These systems are energy-efficient, versatile, and well-suited for both single-room setups and multi-zone applications throughout the home.
If you're planning to install a mini split system, this step-by-step guide will walk you through the entire process to ensure the job is done correctly and your system performs at its best from day one.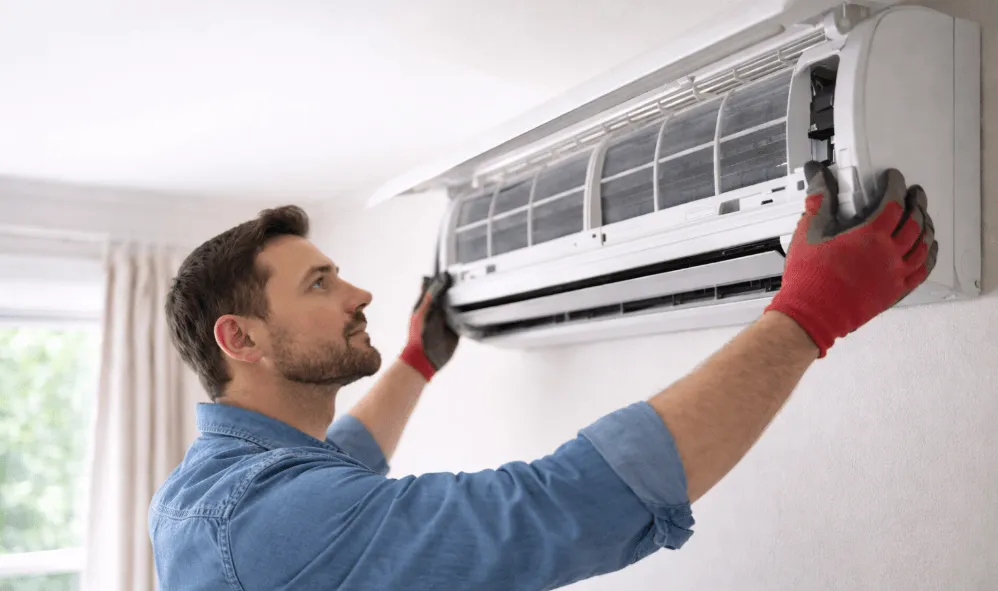
What Is a Mini Split Air Conditioner?
A mini split air conditioner is made up of two core components: an outdoor compressor/condenser and an indoor air handler unit. These two units are connected via a refrigerant line set — which includes refrigerant lines, electrical wiring, and a condensate drain. Unlike traditional ducted systems, ductless mini splits are compact, relatively simple to install, and perfectly suited for spaces where running ductwork simply isn't practical.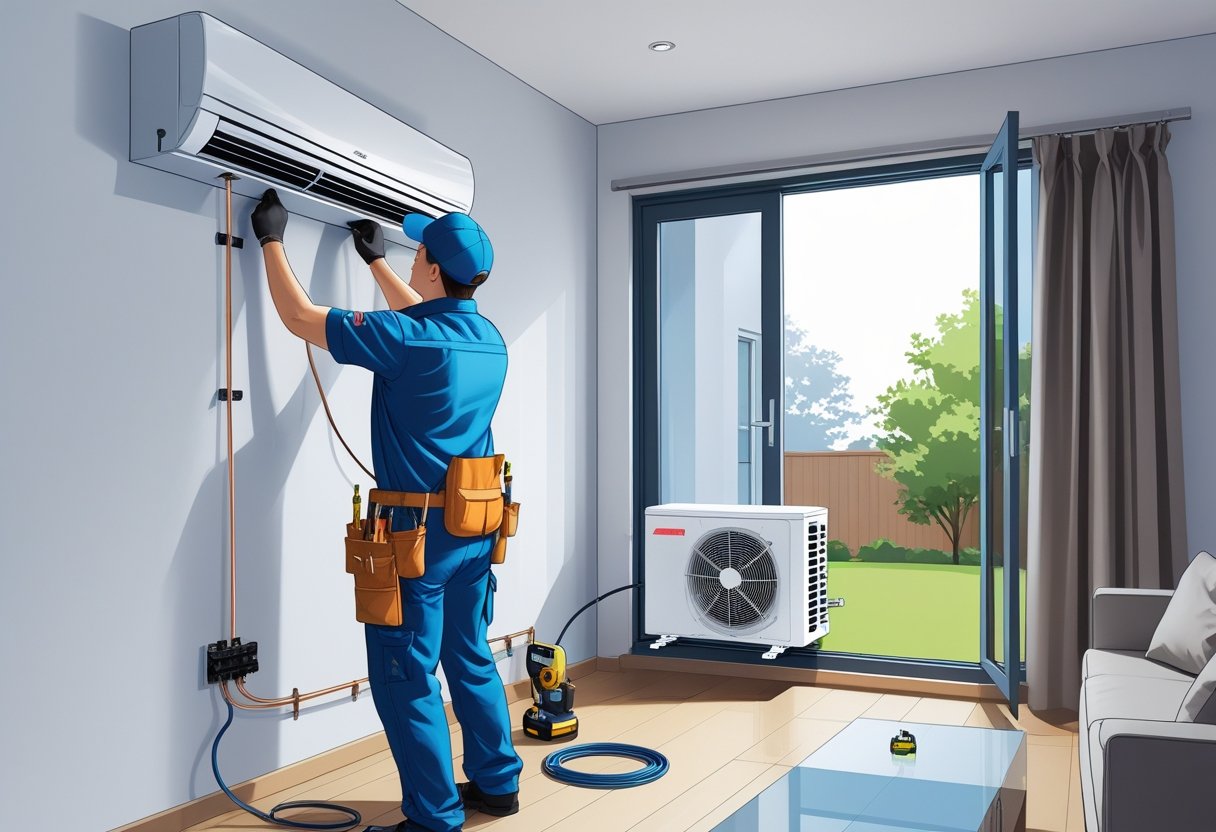
Tools & Materials You'll Need
Before you get started, gather the following tools and accessories:
Step-by-Step Installation Guide
Choose the Right Location
Indoor Unit: Select a wall position that allows even airflow and remains free from obstructions. Confirm the wall can support the weight of the air handler. Outdoor Unit: Place the condenser on a stable, flat surface or secure it using appropriate mounting brackets. Maintain a minimum of 12 inches of clearance on all sides for proper airflow.
Install the Air Handler Unit
Using the included mounting plate, secure the indoor air handler firmly to the wall. Check that it's level with a spirit level. Then drill a 3-inch passage hole through the wall to run the lines connecting the indoor and outdoor units.
Connect the Refrigerant Lines & Wiring
Route the refrigerant line set — which includes refrigerant lines, drain hose, and electrical wiring — through the wall passage. Connect the lines to the indoor unit, making sure they are properly insulated to prevent any energy loss. Use a line cover kit for a clean, professional finish.
Mount the Outdoor Unit
Secure the outdoor condenser either on a concrete pad or wall-mounted brackets — ensuring it is perfectly level and stable. Connect the refrigerant lines, condensate drain hose, and electrical wiring running from the indoor unit.
Evacuate the Refrigerant Lines
Using a vacuum pump and manifold gauge set, remove all air and moisture from within the refrigerant lines. This step is absolutely critical — skipping or rushing it can compromise the system's long-term efficiency and performance.
Test the System
Power on the unit and run a full test cycle. Verify that both cooling and heating modes are functioning correctly, confirm that the condensate drain is operating as expected, and check for any unusual noises or error codes on the display.
Conceal & Protect the Installation
Use a line cover set to neatly hide and protect all lines running between your indoor and outdoor units. This not only gives the installation a professional look but also shields the lines from UV exposure and physical damage over time.
Maintenance Tips for Your Mini Split AC
- Clean the air filters regularly using a dedicated mini split cleaning kit to maintain optimal airflow and indoor air quality.
- Inspect the mini split ducts (where applicable) periodically for dust buildup, debris, or blockages.
- Schedule annual professional maintenance to inspect refrigerant levels, clean coils, and ensure all system components are functioning correctly.