Damage
  Loss
Loss  Theft
Theft 


Installing a Steam Shower at Home: Your Complete Step-by-Step Guide
Installing a steam shower at home is one of the most rewarding bathroom upgrades you can make. Far from being a luxury reserved for spas, a well-planned steam shower delivers daily health benefits — improved circulation, stress relief, and deep muscle relaxation — right in the comfort of your own home.
This guide walks you through every stage of the installation process, from initial space assessment all the way to first use. Whether you're working with a contractor or tackling it yourself, understanding these steps puts you in control of the outcome.
Planning Your Steam Shower Installation
A successful steam shower installation begins well before any tools come out. Careful planning ensures the right components, code compliance, and a result that performs as expected for years to come.

Assessing Your Bathroom Space
The first thing to evaluate is how much usable space your bathroom offers. Your enclosure needs to be large enough to stand comfortably, yet compact enough for the steam generator to maintain a consistent, enveloping steam environment. As a general rule, the smaller the enclosure, the less powerful a generator you'll need — and the more energy-efficient your sessions will be.
Choosing the Right Steam Generator
The steam generator is the heart of your system, and selecting the right size is critical. A generator that's underpowered will never fill your enclosure properly; one that's oversized will waste energy and wear out faster. When sizing your unit, consider:
- The cubic footage of your enclosure
- The type of wall surface (tile holds heat differently than stone or glass)
- Whether the space includes ceiling windows or exterior walls that lose heat
- Your household budget for running costs
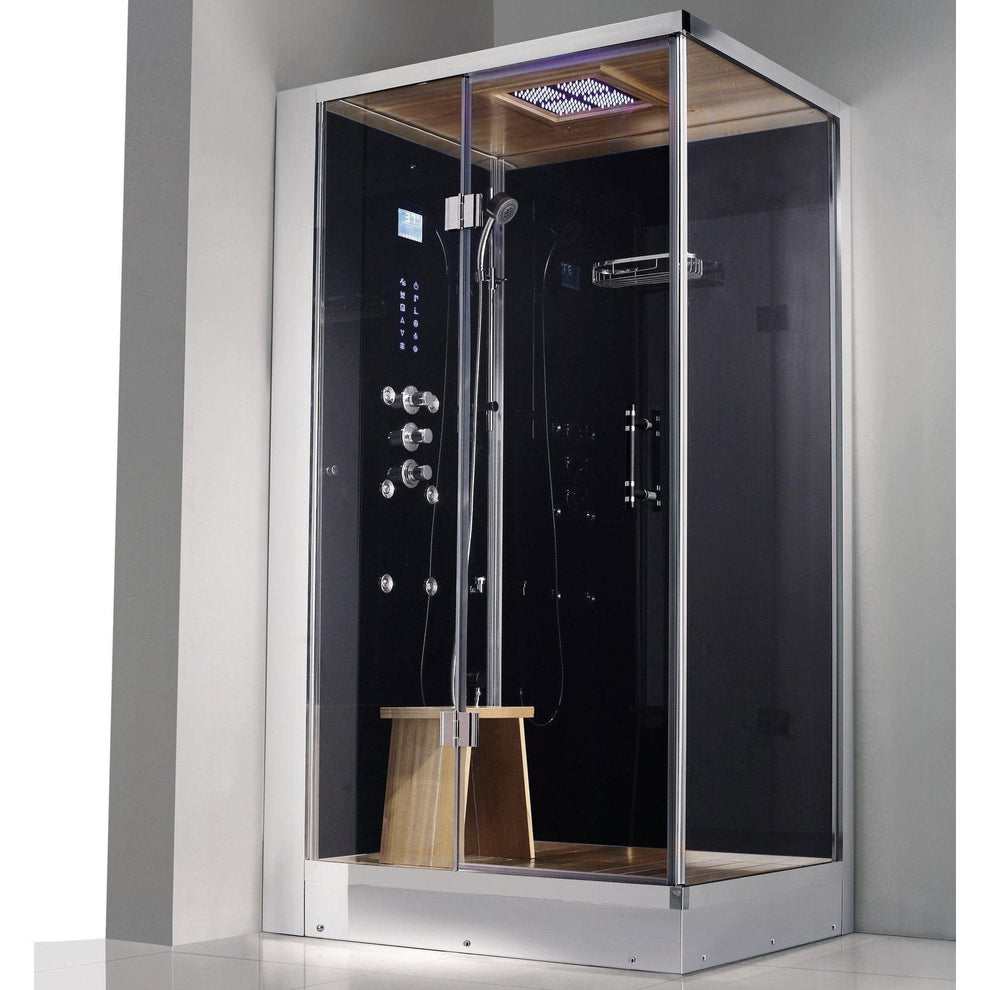
Understanding the Steam Shower Components
A complete steam shower system is made up of several interconnected parts. Knowing what each one does helps you ask the right questions during installation and troubleshoot confidently afterward.
Steam Generator
Heats water and pushes steam into the enclosure. Installed outside the shower — typically in a vanity cabinet or adjacent wall cavity.
Control Panel
Lets you set temperature, session duration, and optional features like lighting or aromatherapy. Digital or manual depending on model.
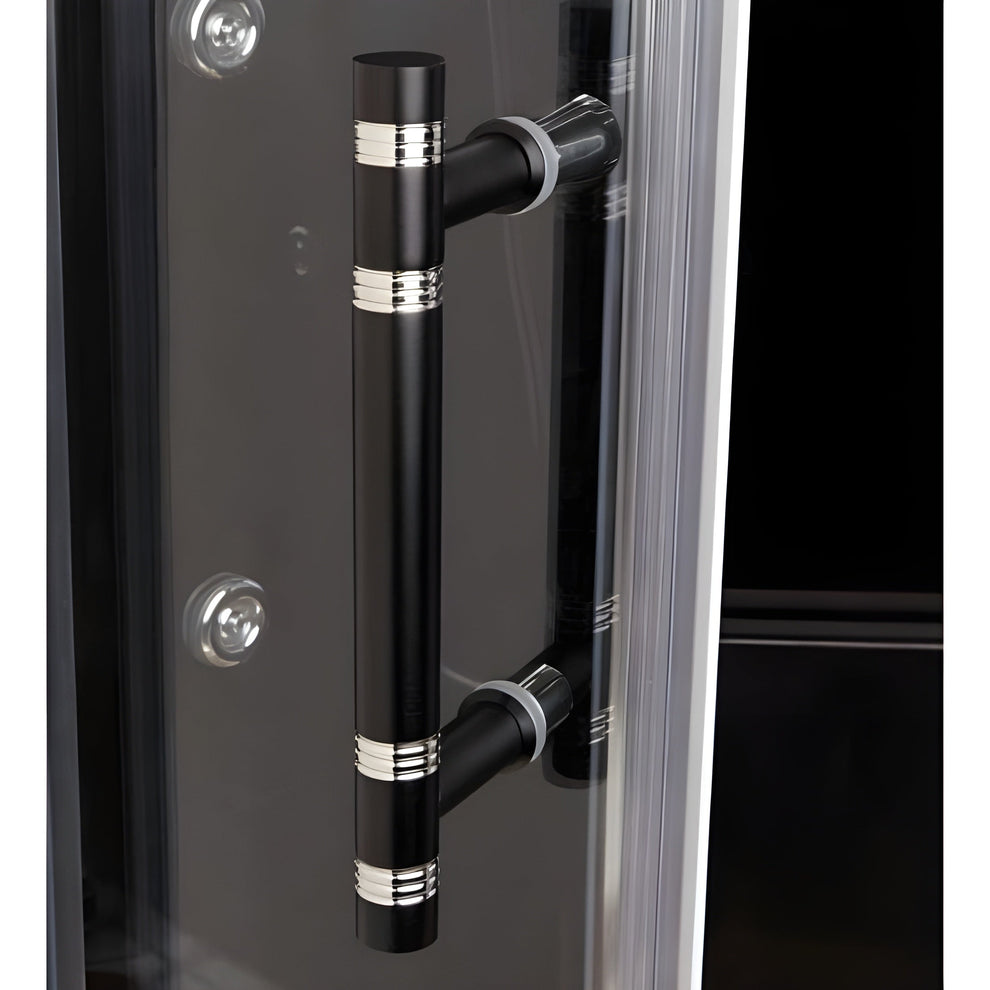
Steam Head
The outlet through which steam enters the enclosure. Positioned low on the wall to allow steam to rise evenly throughout the space.
Ventilation Fan
Removes excess moisture after each session to prevent mold and protect surfaces. Properly sized ventilation is non-negotiable.
Technical Requirements
Electrical Considerations
Steam generators draw significant power — typically between 240V and 208V depending on the unit — and must be wired by a licensed electrician. A dedicated circuit is required; do not share the circuit with other appliances. Ensure that all connections are GFCI-protected and that the installation meets local code requirements before energizing the system.
💡 Pro Tip: Have your electrician confirm panel capacity before purchasing your generator. Insufficient amperage at the panel is the most common reason installations get delayed.
Plumbing Requirements
Your steam generator needs a dedicated cold-water supply line — typically ½-inch copper or CPVC — running from the main supply to wherever the unit is installed. A drain line is also required so the unit can flush mineral deposits and empty between uses. Consult a licensed plumber if you're extending supply lines, and always use three-stroke Teflon tape on steam-rated fittings.
Ventilation & Exhaust
Proper ventilation is what separates a steam shower that lasts from one that develops mold and structural damage within a few years. Install a ventilation fan rated for high-humidity environments and make sure the duct leads directly outside — never into an attic or wall cavity. Your fan should be able to clear the full volume of the room within 8–10 minutes. Local building codes typically mandate specific CFM ratings; always verify before purchasing.
Installation Process
Once planning is complete and materials are on hand, installation can typically be completed over a weekend with professional trades handling the electrical and plumbing rough-in.
- Build the Enclosure Frame the shower walls using moisture-resistant cement board. Ensure the enclosure is fully sealed — even small gaps will prevent steam from building up properly. Include a ceiling pitched at a slight angle to guide condensation to the walls rather than dripping on bathers.
- Waterproofing & Insulation Apply a continuous waterproof membrane over all interior surfaces, paying close attention to corners and seams. Follow this with a layer of moisture-resistant rigid insulation on the interior walls and ceiling. This keeps steam inside and protects surrounding structures from condensation damage.
- Install the Steam Generator & Controls Mount the generator in a dry, ventilated location within 25 feet of the enclosure. Run the steam supply line through the wall and attach the steam head at the designated low-wall position. Connect the control panel according to the manufacturer's wiring diagram and verify polarity before powering on.
- Select Materials & Finishes Choose non-porous, steam-rated tiles for walls and floor. Natural stone adds luxury but requires sealing. Glass walls and doors should be tempered. Grout must be epoxy-based or specifically rated for high-humidity environments to prevent deterioration.
- Test & Commission Before first use, run the system through a full steam cycle while checking all fittings for leaks. Verify that the control panel reads accurately, the steam head discharges cleanly, and the drain clears freely. Allow surfaces to dry completely before sealing grout lines.
Incorporating Added Features
Modern steam showers can go far beyond basic steam delivery. Consider the following enhancements to elevate your experience:
Comfort & Ambiance
- Chromotherapy (color) lighting
- Built-in Bluetooth audio speakers
- Aromatherapy oil reservoir on the steam head
- Handheld and rainfall showerheads
Health & Wellness
- Adjustable steam temperature controls
- Teak or bamboo seating bench
- Essential oil diffuser integration
- Secondary steam head for even distribution
Maintenance & Upkeep
A steam shower is a long-term investment that rewards consistent care. Establish a simple maintenance routine from day one:
- After every session, leave the door ajar for 10–15 minutes to allow moisture to escape
- Wipe down glass and tile surfaces with a squeegee to prevent mineral deposits
- Flush the steam generator monthly using the built-in drain cycle to remove scale buildup
- Inspect and re-seal grout lines annually, or sooner if you notice any discoloration
- Replace the generator's heating element according to the manufacturer's service schedule
⚠️ Important: Using harsh chemical cleaners on steam shower surfaces can degrade grout and sealants over time. Stick to pH-neutral or steam-shower-specific cleaning products to preserve your investment.
Frequently Asked Questions
What is the average cost to install a steam shower?
Installation costs vary based on enclosure size, materials, and labor rates in your area. A mid-range prefabricated steam shower unit combined with professional installation typically falls in a range accessible to most homeowners — your steam shower generator and chosen unit are often the single largest line items in the budget.
Can a steam shower add value to my home?
Yes. Steam showers are increasingly valued by buyers as wellness features, and a well-executed installation in a primary bathroom can make a compelling impression during resale. Buyers associate steam showers with high-end finishes and daily wellbeing benefits.
Do steam showers use a lot of electricity?
Steam showers are more energy-efficient than most people expect. A typical 20–30 minute session uses a fraction of the electricity of a heated pool or hot tub. The generator only works during active sessions and enters standby otherwise, keeping operating costs low.
What plumbing is needed for a steam shower?
At a minimum, a steam shower requires a cold-water supply line to feed the generator and a drain line for flushing. It's recommended to run a ½-inch dedicated supply line — sharing with an existing fixture can cause inconsistent steam pressure.
What are the key safety features to look for?
Look for automatic shut-off timers, GFCI-protected wiring, a sealed and fully enclosed steam head, and a control panel rated for wet-environment installation. The enclosure should also include a fully tempered glass door that can be opened from inside without resistance.
Is it worth hiring a professional to install a steam shower?
For the electrical and plumbing rough-in, professional installation is strongly recommended. Errors in those systems can be costly and dangerous. The finish work — tile, bench installation, accessory mounting — can be handled by a confident DIYer with basic tile experience.