


 Damage
  Loss
Loss  Theft
Theft 


How to Install a Range Hood: A Complete Step-by-Step Guide
A range hood is far more than a decorative addition above your cooktop — it plays a vital role in maintaining clean indoor air quality by capturing smoke, grease, steam, and odors as you cook. Without proper ventilation, these airborne particles settle on your cabinets, walls, and ceilings, causing discoloration and buildup over time.
This guide will take you through the essential types of range hoods, what to consider before installation, and a detailed walkthrough of how to get your new range hood mounted and running properly. Whether you're a seasoned DIY enthusiast or tackling this for the first time, you'll find everything you need right here.
What Is a Range Hood?
A range hood — sometimes referred to as a kitchen exhaust hood or vent hood — is a ventilation appliance installed directly above your stove or cooktop. Its primary purpose is to filter and remove airborne grease, smoke, steam, and cooking fumes from your kitchen environment.
Typically mounted against the wall above your range or suspended from the ceiling over an island cooktop, range hoods come equipped with built-in fans, filters, and lighting. Some models vent air outside through ductwork, while others use recirculating filters to clean and return air to the kitchen.
When selecting your new range hood, you'll discover that they generally fall into two main categories: ducted (vented) and ductless (recirculating). Ducted hoods expel air outside your home through a vent pipe, offering superior ventilation performance. Ductless models filter the air and push it back into the kitchen — a convenient option when exterior venting isn't feasible.
Types of Range Hoods
Understanding the different styles available will help you choose the right fit for your kitchen layout and ventilation needs:
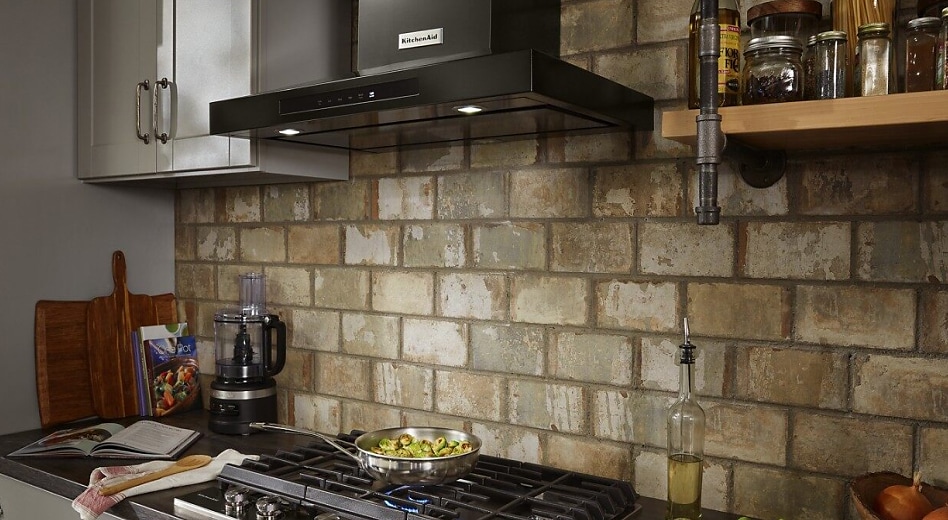
Under-Cabinet
Mounted beneath a wall cabinet directly above the stove. Space-efficient and popular in standard kitchen configurations.
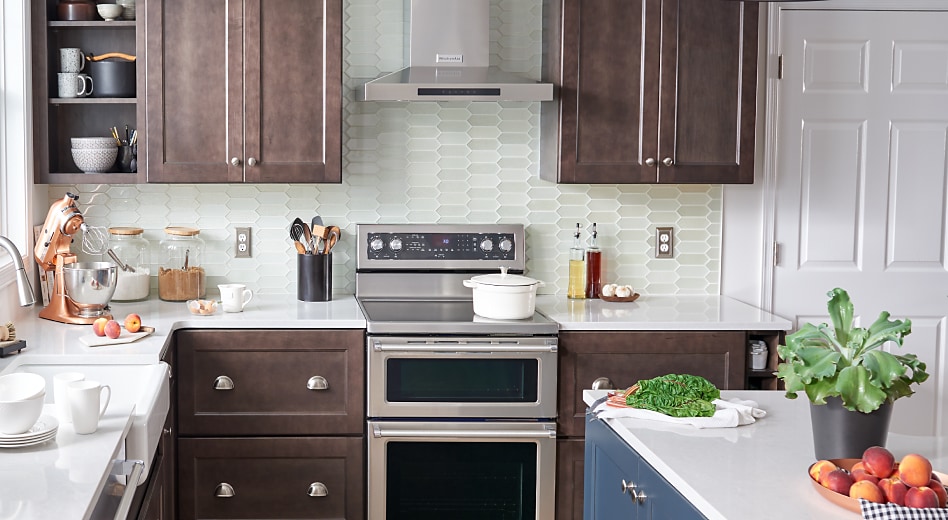
Wall-Mounted
Attached directly to the wall without a cabinet above. Often features a decorative chimney extending upward to the ceiling.
Island Hoods
Suspended from the ceiling above a kitchen island cooktop, offering ventilation in open-plan kitchens.
Insert Hoods
Built into a custom cabinet or enclosure for a seamless, integrated appearance that blends into your cabinetry.
What to Consider Before Installing a Range Hood
Before purchasing and installing a range hood, there are several important factors to evaluate to ensure you select the right model and achieve a proper, safe installation:
Size & Coverage: Your range hood should be at least as wide as your cooktop. Ideally, it should extend 3 inches beyond each side for optimal smoke and grease capture. Measure your stove carefully before buying.
CFM Rating: The airflow capacity of a range hood is measured in Cubic Feet per Minute (CFM). A higher CFM means more powerful ventilation. For standard cooking, 300–400 CFM is sufficient; heavy-duty or commercial-style stoves may require 600 CFM or more.
Mounting Height: Most manufacturers recommend installing the hood between 24 and 36 inches above the cooktop surface. Always consult your specific model's instructions for the recommended height.
Venting Configuration: Decide whether you'll vent through the wall, through the roof, or use a ductless recirculating setup. This will affect both the complexity and cost of your installation.
Local Codes & Permits: Check your local building codes and regulations for ventilation requirements. Some jurisdictions require permits or inspections for range hood installations, especially those involving electrical or ductwork modifications.
Supplies You'll Need
Tools
Tape measure
Level
Wire connectors
Drill with drill bits
Screwdriver set
Wire strippers
Pencil or marker
Safety goggles
Jigsaw or keyhole saw
Non-contact voltage tester
Materials
New range hood
Wall mount range bracket
Vent pipe and elbow fittings
Wood screws and ceiling bolts
Ductwork and sealing compound
Metal foil duct tape
Caulking gun
Electrical wire and connectors
Wall vent cap (if venting outside)
Looking for a premium, quiet, and powerful range hood?
Awoco RH-IT06 Insert Range Hood — 800CFMRange Hood Installation: Step by Step
Step 1: Shut Off Power and Disconnect Wiring
Head to your electrical breaker panel and switch off the circuit that supplies power to the range hood. Use a non-contact voltage tester at the installation site to confirm there's no live current. Once verified, carefully disconnect and remove all existing electrical wiring connected to the old unit.
Step 2: Remove the Old Range Hood
With the power fully disconnected, unscrew the mounting hardware securing the old hood. If it's a two-person job, have a helper support the weight while you detach the screws. Carefully lower and set the old unit aside.
Step 3: Locate and Mark the Vent Position
Your vent position will be determined by the design specifications of your new range hood. If the hood comes with a mounting template, tape it to the wall or underside of the cabinet above. Use a level and pencil to mark the exact center point and the locations of all mounting screw holes.
Step 4: Inspect the Wall Where the Vent Will Be Installed
Before cutting, examine the area behind the wall where the vent opening will go. Check for existing plumbing lines, electrical conduit, or structural framing that could interfere. Use a stud finder to detect hidden obstacles. If you encounter plumbing or wiring, you may need to reroute the vent to a different location.
Step 5: Cut the Interior Hole for the Vent
After confirming the wall cavity is clear of obstructions, use a jigsaw or keyhole saw to cut the vent hole. Trace the outline using the vent cap or pipe as your template. Cut slightly larger than needed to allow for minor adjustments during fitting. With a long drill bit, bore a locator hole through to the exterior to guide your outside cut.
Step 6: Cut the Exterior Vent Pipe Hole
Using the locator hole as your reference point on the exterior wall, mark and cut the outside opening. Fit the vent pipe into the wall to verify alignment from both sides. Apply caulking around the exterior opening to create a weather-tight seal before attaching the vent cover.
Step 7: Attach the Duct or Range Hood Vent Cap
Insert the vent pipe into the exterior opening, ensuring it sits flush. The vent cap should be long enough to reach your range hood's exhaust port on the interior side. Secure it with screws, then seal the edges with weatherproof caulk and metal foil duct tape to prevent air leaks.
Step 8: Prepare the Damper
Some range hoods come equipped with a built-in damper. If yours has one, inspect it closely for free movement. Place a small piece of duct tape on the damper flap to reduce noise from vibration. If your hood does not include a damper, install one in the ductwork to prevent backdrafts of outside air entering your kitchen.
Step 9: Run the Electrical Wiring
Route the electrical wiring from the junction box to the hood's location. If new wiring is necessary, you can pull cable from either end of the circuit to make the connection. Ensure there's sufficient wire length with enough slack for comfortable connections. The wiring should be properly secured and kept away from the vent duct to avoid heat damage.
Step 10: Position the New Range Hood and Secure Mounting Screws
With everything prepped, lift the new range hood into position. If you previously removed a grease filter to access the mounting area, this will give you better visibility. Thread the mounting screws through the hood and into the wall studs or mounting bracket. Tighten them securely but be careful not to over-torque and strip the threads.
Step 11: Complete the Electrical Connection
Once the hood is firmly in place, connect the electrical wires. Match black to black (hot), white to white (neutral), and attach the bare copper or green wire to the grounding screw. Twist the wire ends together and secure each connection with wire nuts. Tuck the completed connections neatly into the electrical housing and replace the cover plate.
Step 12: Install the Vent Covers
Once all wiring is complete and connected, flip the power back on at the breaker panel. Test the range hood's fan speeds, lighting, and any other features to confirm everything operates correctly. Reinstall the grease filters and any decorative vent covers included with your model. Your installation is now complete.

Upgrade your kitchen with a whisper-quiet, high-performance insert hood.
Awoco RH-IT06 Insert Range Hood — 800CFMFrequently Asked Questions
Can I install a range hood myself?
Installing a range hood yourself is absolutely doable if you have basic DIY skills and the proper tools. That said, installation complexity varies by model. Simple under-cabinet replacements are fairly straightforward, while installations that require new ductwork or electrical wiring may call for professional assistance. If the project involves running wire through the attic or walls, or cutting through the roof, hiring a licensed professional is strongly recommended.
Do range hoods have to be vented outside?
Not necessarily. The answer depends on your kitchen layout and local building codes. Ducted range hoods vent directly outside and are considered the most effective option for removing grease, heat, and odors from your home. However, ductless range hoods use charcoal or carbon filters to recirculate cleaned air back into the kitchen — a perfectly viable solution when exterior venting isn't practical.
Do you need a vent hood for an electric stove?
Whether you're cooking on a gas or electric range, particles such as grease, steam, food odors, and smoke are released into the air. We strongly recommend installing a vent hood regardless of the type of range or stove you use. Even on electric stoves, cooking oils and food residue produce airborne contaminants that benefit from proper extraction.
Do you need an electrician to install a range hood?
If you're experienced with basic home renovation and comfortable working with electrical wiring, you may be able to complete the installation on your own. However, if the work requires installing a new dedicated circuit, running wire through walls, or if you're simply not confident handling electrical connections, it's best to hire a licensed electrician. Safety should always come first with any electrical project.
Are range hoods plugged in or hard-wired?
Both options exist depending on the model. Hard-wiring is generally the recommended approach as it creates a cleaner, more permanent installation. However, if your range hood comes with a standard three-prong power cord, it can simply be plugged into a nearby outlet — no hard-wiring required.
Can range hoods be vented through the wall?
Yes, wall venting is one of the most common and practical methods for exhausting kitchen air. Most range hoods can be configured for either wall venting or roof venting, depending on your kitchen's structure. As a general rule, the shorter and more direct the duct path from your hood to the exterior, the better the ventilation performance. Fewer bends and shorter runs mean less airflow resistance and quieter operation.
Ready to Upgrade Your Kitchen Ventilation?
Browse our selection of premium range hoods designed for quiet, powerful, and efficient kitchen airflow.
Awoco RH-IT06 Insert Range Hood — 800CFM