


 Damage
  Loss
Loss  Theft
Theft 


How to Build a Simple DC to AC Power Inverter with a 12V Battery
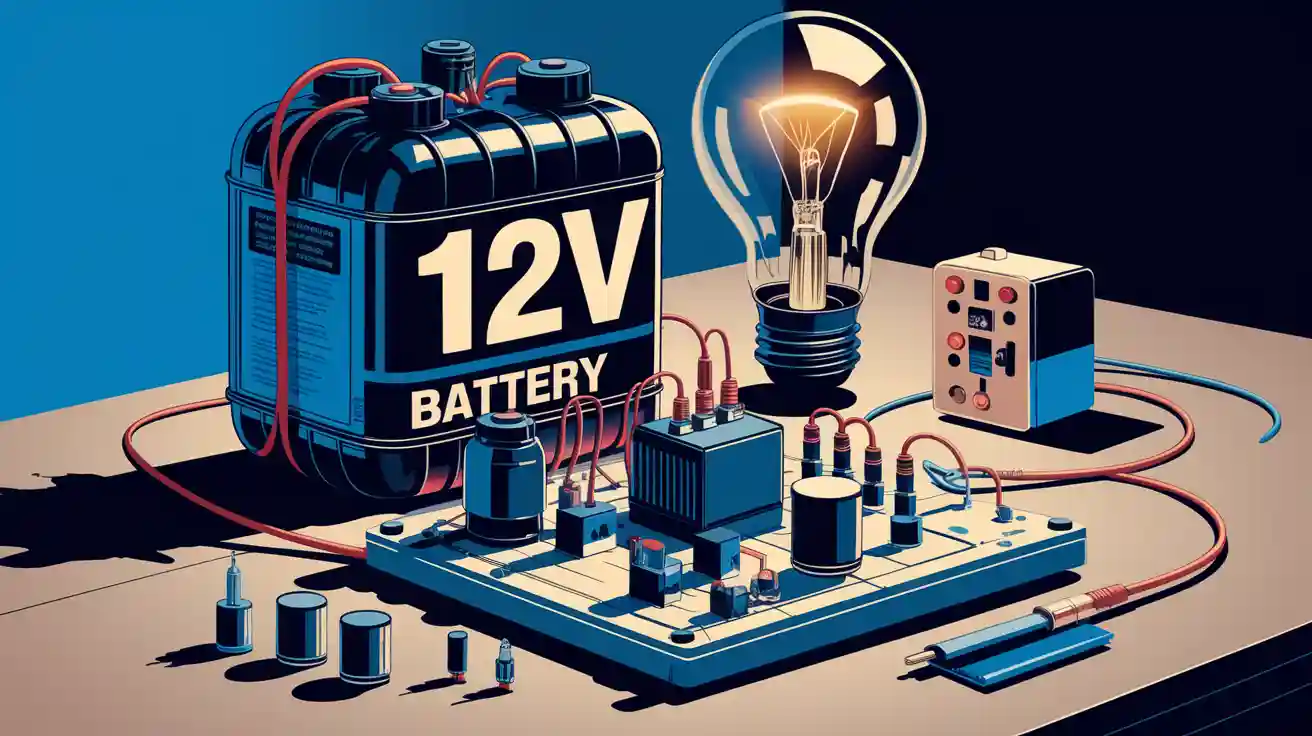
Building a basic DC to AC power inverter using a 12V battery is absolutely doable, even if you are just getting started with electronics. The process begins with understanding how an inverter operates, then sourcing the correct components, laying out your circuit, performing key calculations, and always keeping safety at the forefront. Choosing quality parts is essential because reliability depends on it.
A power inverter comes in handy for a wide range of situations, including home backup electricity during blackouts, outdoor and camping power needs, solar energy setups, running tools in off-grid locations, and even supporting small business operations.
Power Inverter Basics
What Is a Power Inverter
Have you ever needed to power a television or charge a laptop directly from a battery? That is exactly the problem a power inverter solves. It takes direct current (DC) from a battery and converts it into alternating current (AC). Nearly every household device runs on AC power.
A power inverter (also called an invertor) is a power electronic device or circuit that transforms direct current (DC) into alternating current (AC).
You reach for a power inverter whenever you need to operate AC devices from a DC source like a car battery or a solar panel. Beyond simply changing the current type, an inverter also regulates frequency, stabilizes output, and improves the overall quality of the power delivery. This allows you to use your appliances and gadgets reliably even when a wall outlet is nowhere in sight.
Applications
Power inverters serve many practical purposes across different settings. Here are some of the most common uses:
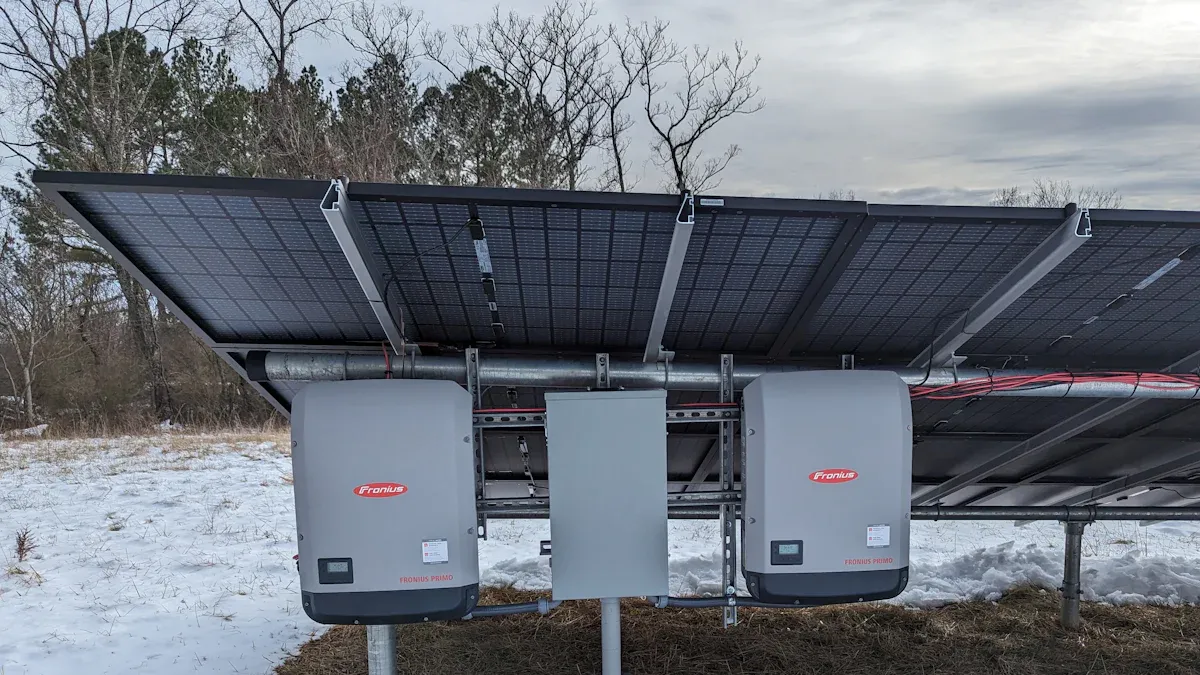
- In solar energy configurations, inverters convert DC power collected by solar panels into AC electricity for everyday household use, giving you access to clean, renewable energy.
- In backup power systems, inverters switch battery-stored DC to AC power the moment your mains supply fails, keeping lights and essential appliances running.
- UPS systems rely on inverters to deliver instant power the second the grid goes down, protecting sensitive electronics from sudden shutoffs.
- Campers, outdoor enthusiasts, and event organizers frequently use inverters to run small appliances from vehicle batteries.
- Small businesses, workshops, and off-grid cabins depend on inverters to guarantee a reliable power supply regardless of location.
As you can see, inverters fill many roles. Whether you need backup energy, a solar power solution, or simply a way to charge your phone on a camping trip, an inverter makes life far easier and more convenient.
DC to AC Power Inverter Working Principle
Signal Generation
Converting direct current from a 12V battery into alternating current requires a mechanism to make the current reverse direction repeatedly. This is where signal generation enters the picture. The process starts with a 555 timer IC, which acts as the heartbeat of your DC to AC inverter. This compact chip produces a steady pulse, toggling on and off at high speed. By adjusting a potentiometer, you can dial in the exact frequency — typically 50Hz or 60Hz — to match the standard in your region.
The 555 timer functions as an astable multivibrator, outputting a square-wave signal. While this square wave is not as smooth as the alternating current from a utility outlet, it works well for many basic devices. The square-wave signal is sent to transistors that act as gates, controlling the flow of current in bursts. If your application demands a smoother output, adding an RLC filter to the circuit can reshape the square wave into a more rounded, sinusoidal waveform that is kinder to sensitive electronics.
Tip: If you plan to power items like radios or televisions, aim to get your waveform as close to a pure sine wave as possible. This prevents buzzing and potential damage.
Phase Shift and Switching
The next step is making the direct current alternate back and forth, mimicking AC behavior. MOSFETs and transistors handle this task. These specialized electronic switches turn on and off extremely fast, taking the square-wave signal from the 555 timer and using it to regulate the flow of direct current through the circuit.
Here is what happens step by step: the MOSFETs receive the timing signal from the 555 timer, they switch the direct current on and off to produce a square-wave output, the gate voltage on the MOSFETs gives you precise control over when switching occurs which is crucial for a clean waveform, and the switching action creates two current paths that make the output alternate direction.
This entire process is known as phase shifting. It enables your DC to AC inverter to produce a waveform that closely resembles alternating current. The exact phase shift depends on your circuit configuration and the load you connect. Inductive loads like motors can shift the waveform further. The goal is always to keep it as close to a sine wave as possible while minimizing harmonics, which are unwanted bumps in the waveform that can cause issues with certain devices.
Note: Proper switching and phase control improve the efficiency of your power conversion and help keep connected devices safe.
Voltage Transformation
At this stage you have a square-wave alternating current, but it remains at the same voltage as your battery. Most household appliances require a much higher voltage, such as 110V or 220V. This is where the transformer does its job. Using electromagnetic induction, the transformer steps up the low-voltage direct current pulses into high-voltage alternating current.
A transformer contains two coils. The primary coil receives the pulsing current from your circuit, while the secondary coil generates a new alternating current at the higher voltage. This is voltage transformation. You select a transformer rated for your target output — for example, one that steps 12V DC up to 220V AC if that matches your needs.
Transformers used in DC to AC inverters typically operate at 85% to 95% efficiency. Efficiency depends on coil design and core material quality. A high-quality transformer means less energy lost as heat, better power conversion, and more usable alternating current delivered to your devices.
Here is a simplified look at the power conversion steps from DC to AC using an inverter:
- The inverter draws 12V direct current from the battery.
- The circuit rapidly switches the direct current on and off, generating an alternating signal.
- The transformer boosts the low-voltage DC into high-voltage AC suitable for your devices.
Remember: Always select a transformer that matches your specific requirements. The right transformer makes your DC to AC inverter both safer and more efficient.
By following these principles, you can construct a simple DC to AC inverter that reliably converts battery power into alternating current for home or outdoor use. You get dependable power conversion, a usable waveform, and the correct voltage for your devices.
Build a DC to AC Converter
Materials and Components
Before you start assembling your DC to AC converter, gather all the necessary parts. Here is what you will need to get going:
- 12V battery (your primary power source)
- Wires (for all connections)
- 5-terminal relay
- Single-phase transformer (to step up voltage)
- Load bulb (for testing purposes)
You will also need these electronic components to make everything function properly:
- 555 timer chip (generates the switching signal)
- MOSFETs (serve as high-speed electronic switches)
- Diodes (protect your circuit)
- Relay (aids in switching)
- Transistors (such as BC549 or 2N2222)
- Capacitors and resistors (for timing and filtering)
- Heatsink (dissipates excess heat)
Below is a table with recommended specifications for your DC to AC converter project:
| Component | Specification |
|---|---|
| NE555 Timer IC | 1 pc |
| BC549 NPN Transistor | 40V, 0.5A, 1 pc |
| IRF540 N-channel MOSFET | 100V, 27A, TO-220, 2 pcs |
| Mylar Capacitors | 0.1uF, 100V, 2 pcs |
| Resistors | 4.7K (1), 120K (1), 1K (2), 5.6K (1) |
| Transformer | 2A, 12V CT 12V, 1 pc |
| Heatsink | N/A |
The total cost for all of these components is typically around $30. You can source most of them from a local electronics shop or an online retailer.
Circuit Design
Now it is time to plan the design of your DC to AC converter. You want a setup that is both straightforward and dependable. The core of the converter is the 555 timer, which generates a 50Hz or 60Hz square wave signal. That signal feeds into the MOSFETs, which rapidly switch battery current on and off.
Here is a basic overview of the design flow:
- The 555 timer produces a square wave.
- The timer signal drives two MOSFETs.
- The MOSFETs switch battery current through the transformer's primary winding.
- The transformer boosts the voltage to the level your AC devices require.
Here is a table showing the main parts in the circuit design and their functions:
| Component | Quantity | Purpose |
|---|---|---|
| 12V Battery | 1 | Power source for the converter |
| MOSFET IRF 630 | 2 | Switches to control the output |
| 2N2222 Transistor | 2 | Used in the oscillator circuit |
| 2.2uF Capacitor | 2 | Filters and stabilizes the circuit |
| Resistor (680 ohms) | 2 | Sets the current in the circuit |
| Resistor (12K) | 2 | Used in the oscillator circuit |
| 12V to 220V Center Tap Transformer | 1 | Steps up voltage from 12V to 220V AC |
The 555 timer chip produces the oscillating signal that drives the MOSFETs. The MOSFETs toggle on and off, enabling the converter to change DC from the battery into AC power.
Assembly Steps
Ready to put your DC to AC converter together? Follow these steps:
- Mount the 555 timer onto your breadboard or PCB.
- Wire the resistors and capacitors to configure the timer's frequency to 50Hz or 60Hz.
- Connect the timer's output pins to the bases of the transistors.
- Link the transistors to the gates of the MOSFETs.
- Wire the MOSFETs so they route battery current through the transformer's primary winding.
- Attach the center tap of the transformer to the battery's positive terminal.
- Connect a load bulb to the transformer's secondary side for testing.
- Inspect all wiring thoroughly for secure connections and correct placement.
- Attach the heatsink to the MOSFETs to prevent overheating.
- Position your DC to AC converter in a cool, dry, and well-ventilated area.
⚠ Warning: Common pitfalls include using an incorrectly sized converter, sloppy wiring, or exceeding the rated load. Always match the converter's input voltage to your battery and never push beyond its rated capacity.
Calculations
A few calculations are needed to ensure your DC to AC converter operates safely and efficiently. Here is how to determine the proper transformer size and output current:
1. Calculate the core area (CA) for your transformer:
CA = 1.152 × √(24 × 10) = 18 sq.cm.2. Find the turns per volt (TPV):
TPV = 1 / (4.44 × 10⁻⁴ × 18 × 1.3 × 50) = 1.963. Calculate the secondary current:
Secondary Current = (24 × 10) / (230 × 0.9) = 1.15 Amps4. Find the number of turns for the secondary winding:
Number of Turns = 1.96 × 230 = 4505. Calculate the primary number of turns:
Primary Turns = 1.04 × (1.96 × 24) = 49You can also use these formulas to verify your power and transformer size:
| Formula | Description |
|---|---|
| P = V × I | Calculates real power in watts |
| P = V × I × PF | Adjusts power calculation for power factor |
| S = V × I | Calculates apparent power in kVA |
| S = P / PF | Determines required transformer size |
Important: Always double-check your calculations before powering up the converter. This prevents overloads and keeps everything safe.
Testing the Inverter
Once your DC to AC converter is assembled, it is time to test it. Here is how to do it safely:
| Procedure | Description |
|---|---|
| Voltage Test | Use a multimeter to measure both input and output voltage. Confirm both fall within the rated range. |
| Current Regulation | Connect varying loads and verify the converter maintains a steady output current. |
| Waveform Quality | Use an oscilloscope to inspect the output waveform. A smooth sine wave is the ideal result. |
| Maximum Power Output | Run the converter at its maximum rated load. Ensure it stays stable and does not overheat. |
| Safety Precautions | Wear safety glasses and gloves. Never touch live wires. Avoid overloading the converter. |
If your DC to AC converter does not deliver the expected AC output, try these troubleshooting steps:
- Check the battery voltage. A fully charged 12V battery should read around 12.6 to 12.8 volts.
- Inspect all wiring and connections for loose spots or corrosion.
- Check fuses and circuit breakers. Replace any that are blown.
- Make sure the total wattage of connected devices does not exceed the converter's rated capacity.
- Adjust the output voltage and frequency settings if necessary.
- Ensure the converter has adequate airflow and is not overheating.
- Consult the user manual for error codes or diagnostic messages.
- If issues persist, seek help from a qualified professional.
⚠ Heads up: If you encounter no output, overvoltage, or overcurrent, check for damaged components, loose wires, or incorrect settings. Resolve these issues before using the converter again.
Common problems include rectifier module damage, inverter module failure, or overcurrent readings. These usually stem from grid voltage fluctuations, poor wiring, or defective parts. Always review your design and connections before powering up.
Inverter Safety
High Voltage Precautions
Constructing an inverter means working with high voltage. High voltage is dangerous and can cause serious injury if you are not careful. Even minor mistakes can result in electric shocks or burns. It is vital to learn proper safety practices before you begin. Many builders take dedicated safety courses or specialized PV training to learn how to work safely with electricity and solar systems.
Here are some important certifications to be aware of:
| Certification | Description |
|---|---|
| ANSI/UL 2200 | Safety rules for stationary generators |
| UL 9540 | Safety rules for energy storage systems |
| ANSI/UL 1741 | Inverter testing standards |
| IEEE 1547 | Connection standards for distributed energy resources |
You might also consider utility safety courses or NABCEP PV certification. These programs cover fundamental electrical safety principles and building codes.
⚡ Safety First: Always disconnect power before touching any wires. Never work on live circuits. Wear gloves and safety glasses at all times.
Component Protection
Your inverter needs proper protection to last longer and perform better. Heat buildup is one of the biggest enemies of DIY circuits. MOSFETs and other components can reach very high temperatures. Without adequate cooling, your inverter will eventually fail.
Here are effective methods for keeping your inverter cool:
| Method | Description | Application |
|---|---|---|
| Passive Cooling | Heatsinks absorb and release heat | Suitable for small inverters and open spaces |
| Active Cooling | Fans blow air across heatsinks to cool parts | Necessary for larger inverters or enclosed housings |
| Advanced Methods | Uses conduction, convection, and radiation for optimal results | Maintains high energy efficiency and protects components |
A flyback diode is another essential safety component. It creates a safe path for current when you disconnect an inductive load, preventing harmful voltage spikes that can damage MOSFETs, relays, and motors. Flyback diodes are found in virtually all well-designed DIY circuits and play a key role in keeping your inverter reliable over time.
Safe Operation Tips
Keeping your inverter running well and staying safe requires attention to a few key practices:
- Always use the correct tools and wear appropriate safety gear.
- Follow all manufacturer instructions carefully.
- Never touch exposed wires or work on live circuits.
- Keep your workspace clean, dry, and free from fire hazards.
- Ensure proper insulation and grounding throughout your system.
| Best Practice | Description |
|---|---|
| Use PPE and tools | Protects you from shocks and burns |
| Follow manufacturer guidelines | Helps you avoid errors and accidents |
| Never work on live circuits | Prevents electric shock |
| Keep area clean and dry | Reduces risk of fire and slips |
| Insulate and ground your inverter | Adds an extra layer of protection |
Falls and ladder injuries are common in workshop environments. Keep floors dry and clear of clutter. Use extension poles instead of ladders when possible. If a ladder is necessary, never stand on the top two steps.
Proper safety features and protection extend the life of your inverter. They also conserve energy and keep your backup power system running reliably.
You now have a thorough understanding of how to build a simple DC to AC inverter using a 12V battery. The process starts with gathering your components, then moves into designing the circuit, performing calculations, assembling the unit, and testing thoroughly. Following safety best practices throughout is non-negotiable.
- Most homemade inverters achieve 80-90% efficiency. This means the majority of your battery's energy reaches your devices, with relatively little wasted as heat.
- Inverter efficiency is calculated by comparing output to input. For instance, if your inverter delivers 100W of output while drawing 120W of input, the efficiency is approximately 83%. That translates to dependable, energy-saving performance.
Here are some common inverter applications and the performance you can expect:
| Application | Performance Metrics |
|---|---|
| Solar Power Systems | High-efficiency inverters reduce energy loss and downtime; smart inverters help stabilize the grid. |
| Electric Vehicles (EVs) | Power requirements vary — small EVs use up to 130 kW, while large trucks need over 250 kW. |
| RV, Marine, and Portable Power | Pure sine wave inverters deliver clean power for sensitive electronics; a 2000-watt inverter can run most RV appliances. |
Whether you need your inverter for backup power, a solar energy system, or portable energy on the go, it delivers clean electricity for your home, RV, or outdoor adventures. You can power lights, appliances, and sensitive electronics with stable, reliable output.
Looking for a powerful, ready-to-use inverter solution? Check out our top pick:
BLUETTI AC300 Inverter ModuleIf you want to deepen your knowledge or tackle more advanced projects, consider exploring intermediate and advanced electronics guides that focus on energy electronics and power conversion theory.