


 Damage
  Loss
Loss  Theft
Theft 


How to Install a Tankless Gas Water Heater
Tankless gas water heaters are a smart, energy-efficient way to heat water on demand. This step-by-step guide walks you through the full installation process — from removing your old unit to firing up a continuous, powerfully efficient stream of hot water. Whether you are a seasoned DIYer or tackling your first major home project, this guide covers everything you need to do the job right.
Take Out the Current Water Heater
Before any new components go in, your existing water heater must come out safely. Start by turning off the gas supply at the main valve and allowing the unit to cool completely. Shut off the cold water inlet valve, then drain the tank by attaching a garden hose to the drain spigot and directing water to a floor drain or outside.
Disconnect the gas supply line using a pipe wrench — never force connections. Detach the water inlet and outlet pipes carefully to avoid damaging surrounding fittings. If your current unit has a vent flue, loosen and remove it. Once all connections are free, lift or wheel the old unit out for proper disposal according to your municipality's recycling guidelines.

Fix New Water and Gas Lines for Your Heater
Proper piping is critical for safe and efficient operation. Connect the cold water supply and hot water outlet lines using copper pipe or flexible corrugated connectors rated for potable water use. Make sure to include shut-off valves on both lines so future maintenance is straightforward without a full system shutdown.
For the gas line, use a flexible gas connector that matches your heater's BTU requirements. Apply pipe joint compound or yellow PTFE tape rated for gas applications to all threaded fittings. Keep the gas line as straight as possible, avoiding sharp bends. Before proceeding, perform a basic leak test using a soapy water solution on all joints and watch for any bubbling.

Always allow enough slack in flexible connectors to prevent stress fractures over time. Rigid connections in high-vibration areas are a common cause of leaks.
Place the Water Heater on a Stand
For floor-mounted tankless units, a sturdy mounting platform ensures stability and meets clearance codes. Use a metal or pressure-treated wooden stand elevated at least a few inches from the floor — especially in garages or utility rooms where flooding is a risk. Professionals often recommend a stand of roughly 18 inches off the floor for added protection.
If you are wall-mounting, mark your stud locations with a stud finder and use lag bolts rated for the unit's weight. Tankless heaters are significantly lighter than traditional storage tanks, but the bracket must still be capable of supporting the unit under operational vibration. Use a level to confirm the heater sits perfectly plumb before finalizing the mount

Install the Water Heater
With your stand or wall bracket in place, carefully position your tankless unit and secure it according to the manufacturer's mounting instructions. Connect the cold water inlet and hot water outlet to the corresponding ports on the heater — typically labeled clearly. Use thread sealant on all water connections and tighten fittings snugly but without over-torquing the valves.
Reconnect the gas supply line to the unit's gas inlet port. Confirm that all fittings are tight. Check that the unit has the required clearance from combustible materials on all sides — refer to your model's installation manual for the specific distances. Some units also require an electrical connection for the igniter or control board; connect the supplied power cord to a grounded outlet within reach
Fix the New Vent
Proper venting is non-negotiable with gas appliances. Most indoor tankless water heaters require a Category III or IV stainless steel vent system — do not use standard B-vent for high-efficiency condensing units. Run the vent pipe from the exhaust collar on the heater to the exterior of your home, maintaining a steady upward slope of at least a quarter inch per foot to prevent condensation pooling.
Keep the total vent run as short and straight as practical. Each 90-degree elbow reduces effective vent length — account for this in your design. Seal all vent joints with foil tape approved for high-temperature exhaust applications. Install an inline noise reducer or baffle if your vent run is long to keep exhaust sound passing through the unit to a minimum. Finally, fit the exterior wall cap with a proper rain and animal guard to protect against backdraft
Switch On the Unit
You are almost there. Before powering on, open the cold water supply valve slowly and allow the unit's internal pipes to fill completely. Open a hot water tap inside your home and let it run until water flows consistently — this purges any air from the lines. Close the tap once steady flow is confirmed.
Turn the gas supply valve to the open position. Set the temperature to your preferred setting using the control panel — 120°F is recommended for most households. Power on the unit and open a hot water fixture to trigger the flow sensor. The igniter should fire within a few seconds and the burner will engage. Let the unit run for two to three minutes, then verify the outlet water temperature with a thermometer to confirm accurate calibration.
If you detect any smell of gas at any point, turn off the gas supply immediately, ventilate the area, and contact a licensed gas professional before proceeding. Never attempt to ignite a unit when a gas leak is suspected.
Before purchasing, calculate your peak simultaneous demand in gallons per minute. Undersizing is the most common and costliest installation mistake.
Install an inline sediment filter before the unit's cold inlet to reduce scale buildup and extend the heat exchanger's service life significantly.
Some cities require a licensed plumber or gas fitter to complete the final connection. Always verify local permit requirements before starting work.
In freeze-prone regions, insulate exposed supply lines and use a unit with built-in freeze protection or a drain-down valve to prevent winter damage.
Confirm your home's gas supply pressure matches the unit's requirements before installation. Incorrect pressure will cause ignition failure or unsafe combustion.
Skipping permits can void your homeowner's insurance and create liability during resale. Always obtain the necessary approvals from your local building authority.
Never install a non-direct-vent gas appliance in a confined or sealed space. Carbon monoxide buildup is a life-threatening risk from inadequate combustion air supply.
The electrical outlet used for the control board must be properly grounded. Using an ungrounded circuit risks damage to the unit's electronics and potential shock hazard.
Descale with a diluted white vinegar solution or commercial descaler at least once a year to prevent mineral deposits from reducing efficiency or causing overheating.
Check the burner assembly annually for signs of rust or corrosion. A discolored or uneven flame is a sign that servicing is needed before the next heating season.
Remove and rinse the cold water inlet filter screen every few months to prevent flow restriction, which can trigger low-flow error codes on modern units.
Schedule a certified technician visit once a year to inspect venting, gas connections, ignition components, and all safety controls for peace of mind.
Can a tankless gas heater be added to an existing system?
Yes. In most cases a tankless unit can replace a traditional tank heater directly on the existing gas and water supply lines, though pipe sizing and gas pressure should be verified to match the new unit's demands.
Can a tankless water heater be installed indoors?
Absolutely. Indoor models are designed with sealed combustion or direct-vent systems that draw combustion air from outside, making them safe for interior installation in utility rooms, basements, and closets.
What size gas line does a tankless water heater need?
Most whole-home units require a ¾-inch gas line at minimum, though high-demand units may need a 1-inch line. The line size depends on the BTU rating and the distance from the meter — always refer to your unit's specifications and local gas code.
Is it safe to install a tankless water heater in a garage?
Yes, provided the unit is elevated off the floor (to meet ignition source height requirements) and proper venting is installed. Check local codes, as some jurisdictions have additional requirements for garage installations.
What is the best location for a tankless water heater?
The closer to the point of heaviest use, the better. A central utility room or a location close to your main bathroom minimizes pipe run length, reducing heat loss and wait time for hot water at the fixture.
What are the two main system requirements for a tankless water heater?
Adequate gas pressure and flow rate, and a properly sized exhaust vent. Meeting both requirements is essential for safe, reliable performance and to maintain the manufacturer's warranty.
Is a dedicated gas line required for a tankless water heater?
In most cases, yes. High-BTU tankless units draw significantly more gas than other appliances and typically require their own dedicated line from the meter to ensure stable pressure and prevent starving other connected appliances.
How long is it used per day on average?
A typical household activates its tankless water heater between one and three hours cumulatively per day. Unlike storage tank heaters, the unit only fires when hot water is actively flowing, contributing to its energy efficiency advantage.
How much does it cost per month to run?
Operating costs vary by usage and gas rates, but most homeowners report monthly savings of 20–30% compared to a standard storage tank heater. At average US gas prices, monthly costs typically range from $15 to $40 depending on household size and usage habits.
Ready to Make the Switch to Tankless?
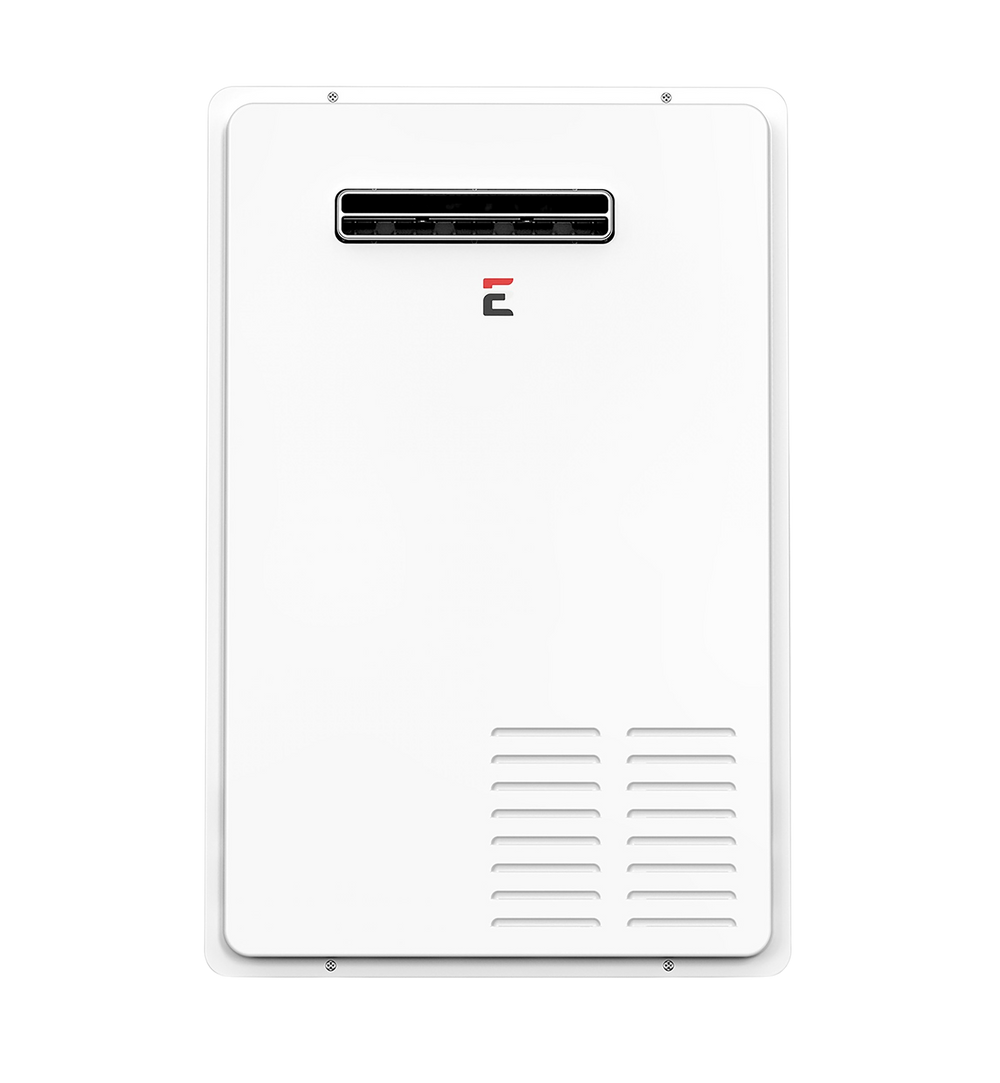
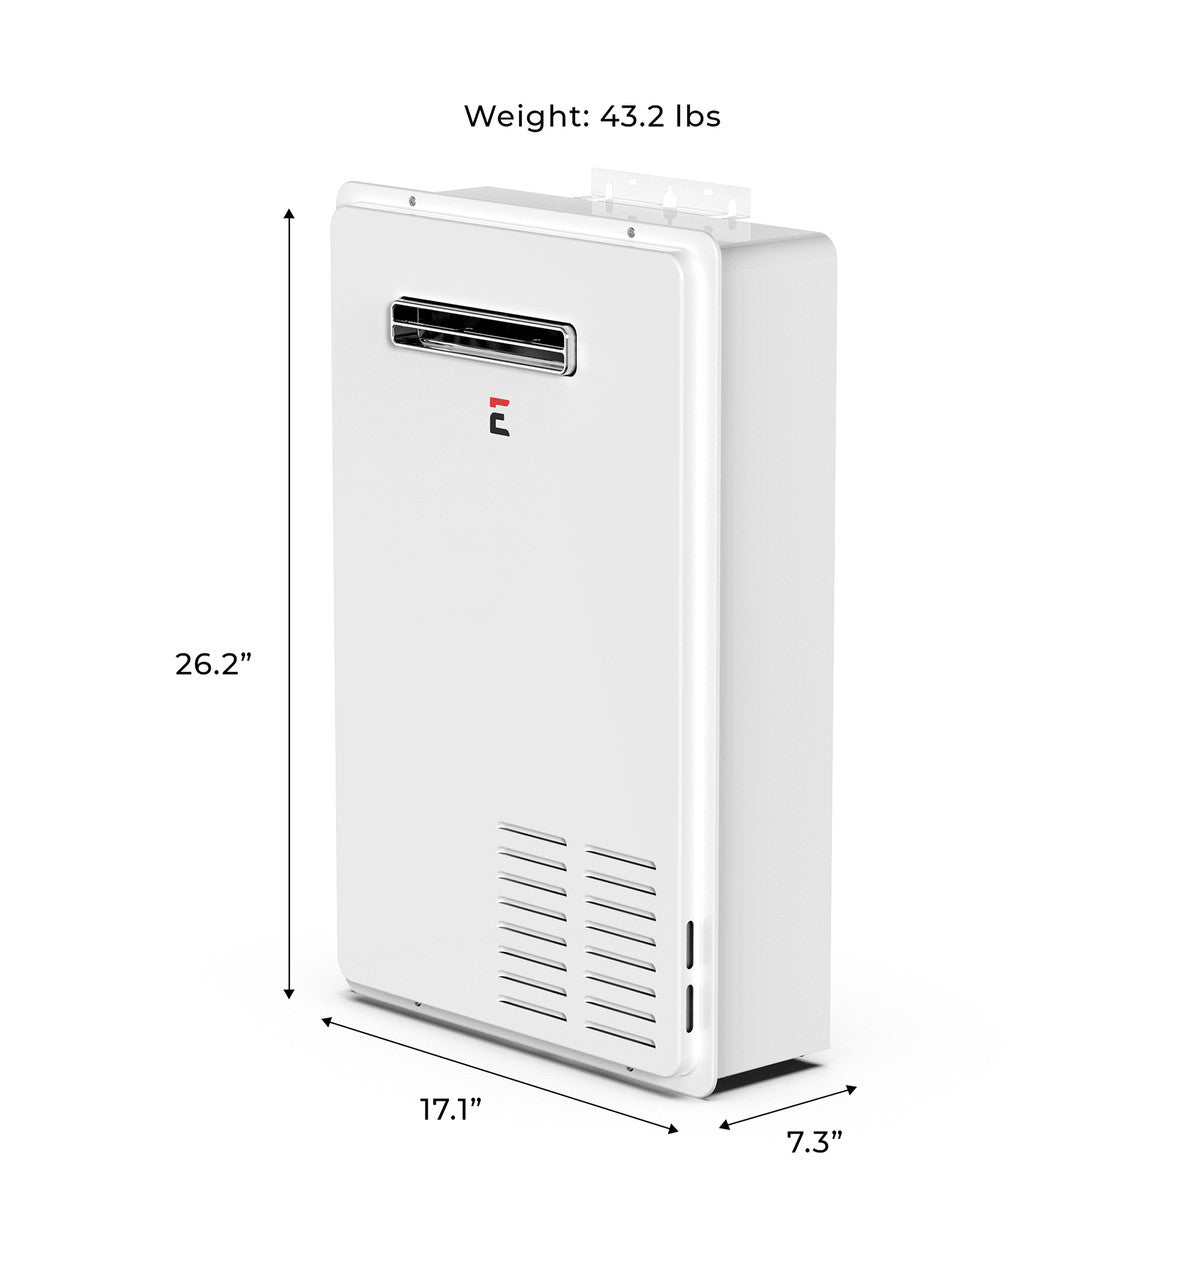
Get continuous hot water on demand with this professional-grade outdoor liquid propane tankless water heater — engineered for reliability and built to last.
Eccotemp 7GB-LP Tankless Heater