


 Damage
  Loss
Loss  Theft
Theft 


Your Complete Guide to Installing an Air Conditioner
When temperatures start climbing, having a reliable air conditioning system becomes essential for maintaining comfort in your home. While professional installation is always recommended for complex setups, understanding the installation process helps you make informed decisions and ensures your system operates efficiently. This comprehensive guide walks you through every stage of installing both indoor and outdoor AC units.
Selecting the Ideal Location
Indoor Unit Placement
Finding the right spot for your indoor unit significantly impacts cooling efficiency. Consider these essential placement guidelines:
- Position the unit at least eight feet above floor level for optimal air distribution
- Choose a wall sturdy enough to support the unit's weight without vibration
- Avoid areas that receive direct sunlight or heat from appliances
- Ensure adequate clearance for unrestricted airflow throughout the room
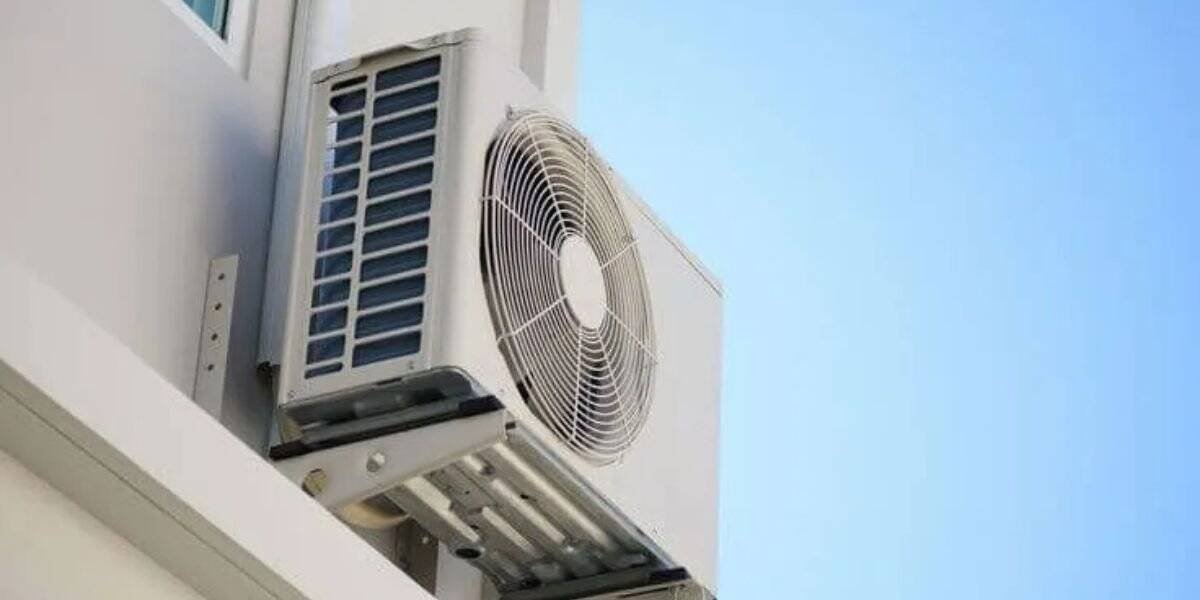
Outdoor Unit Placement
The compressor unit requires careful positioning for longevity and performance:
- Install on a level, stable surface that can handle vibration
- Select a shaded location whenever possible to reduce workload
- Maintain at least thirteen inches of clearance from any wall
- Keep away from dusty or debris-prone areas
Mounting the Indoor Unit
Securing the Mounting Bracket
Begin by locating wall studs using a stud finder for maximum stability. Mark your drilling points carefully, ensuring the mounting plate sits perfectly level. Use appropriate anchors and screws to firmly attach the bracket, as this foundation supports the entire indoor assembly.
Drilling the Connection Passage
Create a hole through the wall for connecting pipes and cables between units. Angle this passage slightly downward toward the exterior to facilitate proper condensation drainage and prevent water from entering your home during rainfall.
Running Lines and Cables
Thread the following components through your prepared opening:
- Route the drainage tube, power cable, and refrigerant lines through the wall opening
- Verify all lines reach the outdoor unit location with adequate length
- Apply adhesive sealant around any gaps to prevent air leakage
- Wrap exposed copper refrigerant lines with insulation material to prevent condensation
Attaching the Indoor Unit
Carefully lift the indoor unit and align it with the mounting bracket. Slide it into position until you hear it click securely. Double-check that all cables and pipes remain properly positioned without being pinched or kinked during installation.
Setting Up the Outdoor Unit
Preparing the Foundation
Place a concrete pad or mounting brackets at your chosen outdoor location. This base must be completely level and capable of absorbing compressor vibrations during operation. Proper foundation preparation prevents noise issues and extends equipment lifespan.
Positioning the Compressor
Lower the outdoor unit onto your prepared base using proper lifting techniques. Confirm adequate ventilation space surrounds the unit on all sides. This clearance ensures efficient heat dissipation and allows for future maintenance access.
Connecting Refrigerant Lines
- Carefully bend and connect copper tubing from the indoor unit to corresponding outdoor ports
- Use a flaring tool to create proper connections at the rounded tube ends
- Tighten all fittings securely while avoiding over-torquing that could damage threads
- Check every connection point for potential leak sources
Completing Electrical Connections
Follow the wiring diagram included with your system to connect indoor and outdoor units. Always disconnect power at the circuit breaker before handling any electrical components. Proper grounding is essential for safe operation and protecting your investment.
Installing the Condensate Drain
Position the drainage pipe to flow away from your foundation and any landscaping features. Maintain a consistent downward slope to prevent water accumulation. Avoid creating sharp bends that could restrict flow or cause blockages over time.
Evacuating Moisture and Air
Performing the Vacuum Process
Connect a vacuum pump to the service port on the outdoor unit. Run the pump continuously for fifteen to thirty minutes until your gauge shows pressure below 500 microns. This critical step removes all moisture and air that could damage the compressor or reduce cooling efficiency.
Releasing the Refrigerant
Once evacuation completes, close the vacuum valve and disconnect your equipment. Open the service valves on the outdoor unit to release factory-charged refrigerant into the sealed system. Verify the lines remain free of moisture and non-condensable gases.
Final Checks and System Startup
Inspecting for Leaks
Apply soapy water solution to all refrigerant connections and observe carefully. Any bubbling indicates a leak requiring immediate attention. Address all leaks before proceeding with system operation to ensure optimal performance and prevent refrigerant loss.
Sealing and Securing
- Apply weatherproof sealant around the wall opening using appropriate tape or putty
- Secure all exposed piping with mounting straps attached to exterior walls
Powering Up the System
Restore electrical power at the circuit breaker panel. Use the remote control to activate cooling mode and verify the outdoor compressor engages properly. Confirm cold air flows from the indoor unit within several minutes of startup.
Testing System Performance
Allow the unit to run through a complete cooling cycle while monitoring for unusual sounds or vibrations. Check that temperature drops consistently and the outdoor fan operates smoothly. Address any irregularities before considering installation complete.
Post-Installation Cleanup
Complete your installation project properly:
- Remove all packaging materials and construction debris from the work area
- Protect outdoor equipment from dirt and landscaping materials
Ongoing Maintenance Recommendations
Protect your investment and maintain peak efficiency with regular care:
- Clean or replace air filters monthly during heavy use seasons
- Remove debris from around the outdoor unit regularly
- Schedule professional refrigerant level checks annually
- Inspect drainage lines for clogs before each cooling season
Ready to Upgrade Your Cooling?
Discover our selection of premium wall-mounted air conditioners designed for reliable comfort.
FRIEDRICH WallMaster ACFinal Thoughts
Installing an air conditioning system requires careful attention to detail and respect for both electrical and refrigeration safety protocols. While this guide provides a thorough overview of the installation process, remember that working with refrigerants and high-voltage electrical connections carries inherent risks. When in doubt, consulting with a licensed HVAC professional ensures your system operates safely and efficiently for years to come.
Following manufacturer guidelines and maintaining your equipment properly will reward you with consistent comfort throughout the warmest months. Take pride in understanding how your cooling system works, and enjoy the refreshing results of a properly installed air conditioner.