


 Damage
  Loss
Loss  Theft
Theft 


Optimal Mini Split Placement Guide
Selecting the perfect spot for your mini split system is one of the most critical decisions you'll make during installation. The right placement directly impacts how well your unit cools or heats your space, how much energy it consumes, and how long it will last. Poor positioning can lead to uneven temperatures, higher utility bills, and unnecessary strain on your equipment.
This comprehensive guide walks you through everything you need to know about positioning both indoor and outdoor components of your ductless system to achieve optimal performance in your home or backyard living space.
Why Placement Matters
Your mini split system relies heavily on proper air circulation to function at its best. When positioned correctly, the indoor unit distributes conditioned air evenly throughout the room, eliminating hot spots and cold zones. Strategic placement also ensures the system doesn't have to work overtime to maintain your desired temperature.
A well-placed unit operates more quietly, experiences less wear and tear, and delivers consistent comfort year-round. Conversely, improper installation can result in short cycling, excessive noise, and premature component failure—all of which translate to costly repairs and replacements down the line.
Understanding the fundamental principles of airflow dynamics and heat transfer will help you make informed decisions about where to mount your equipment, ensuring you get the most value from your investment.
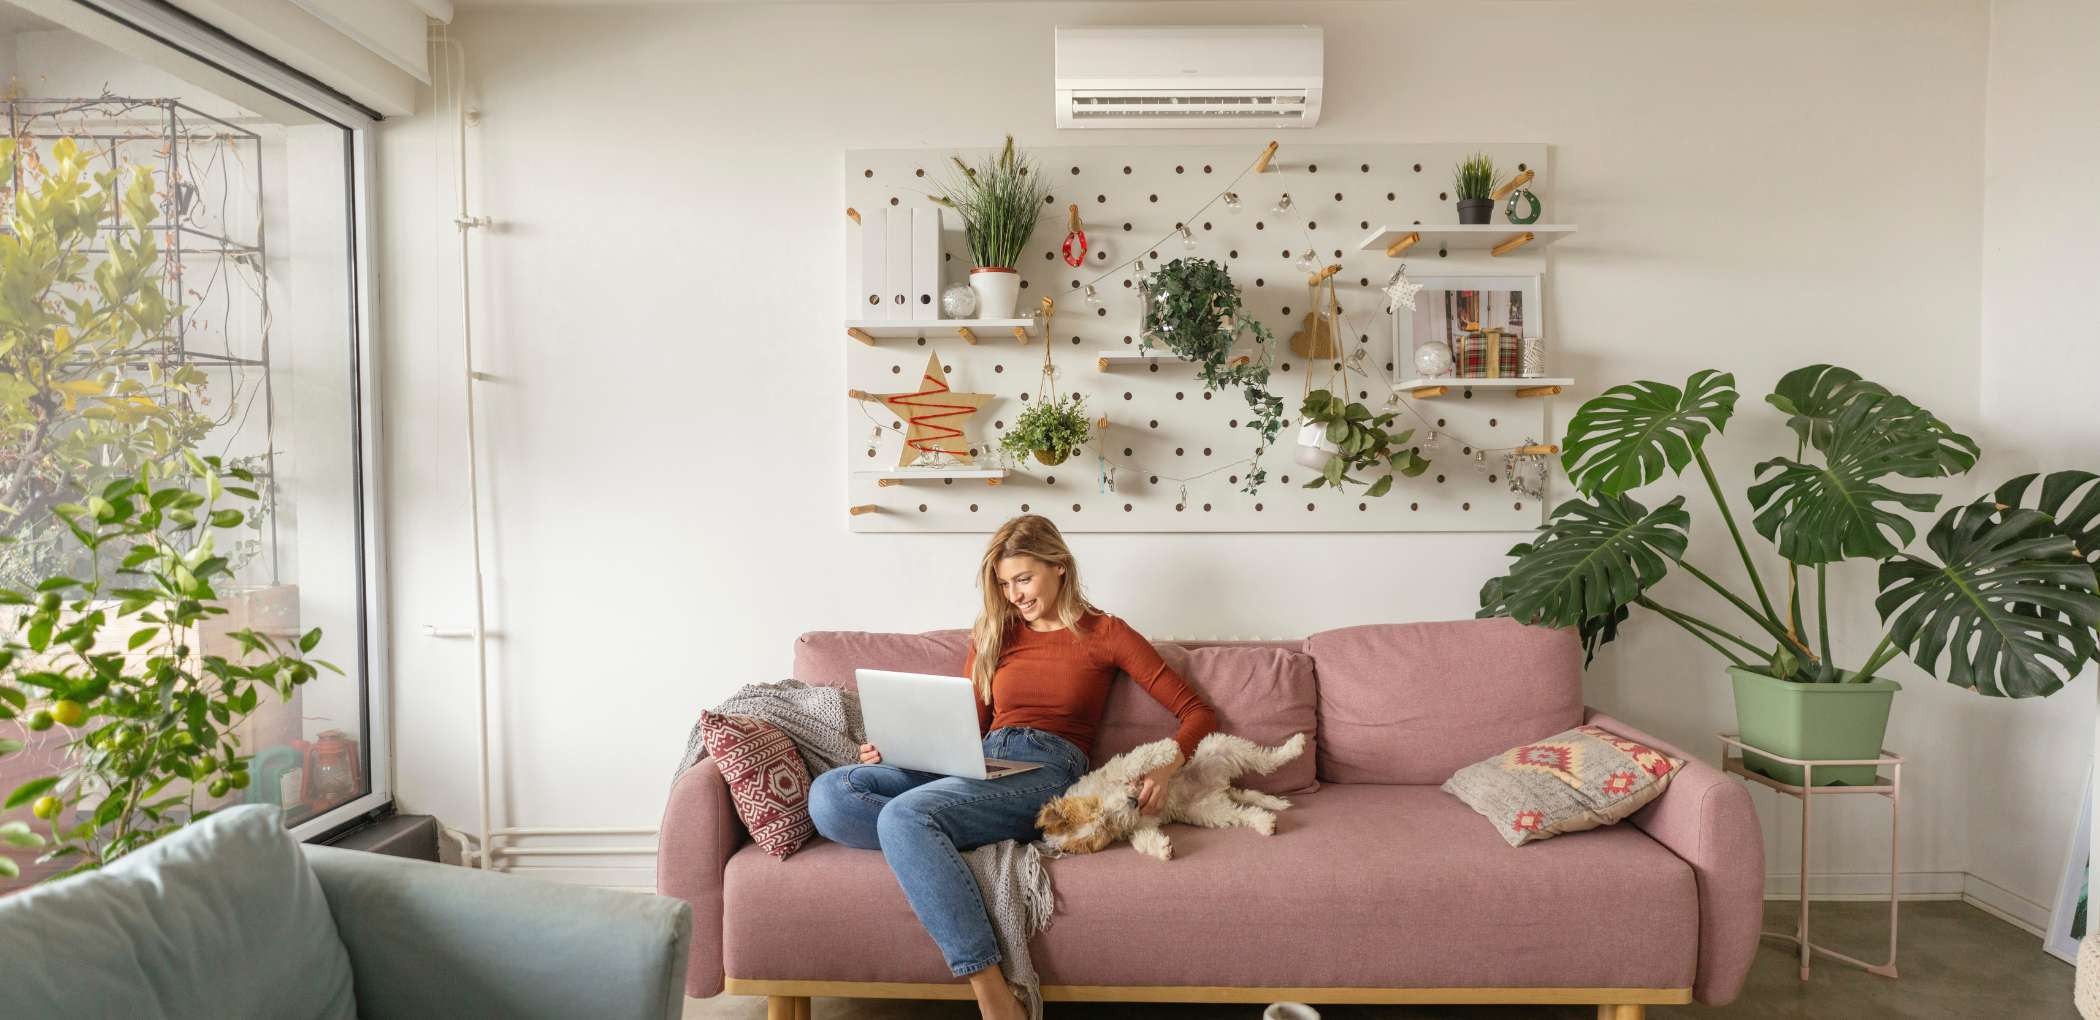
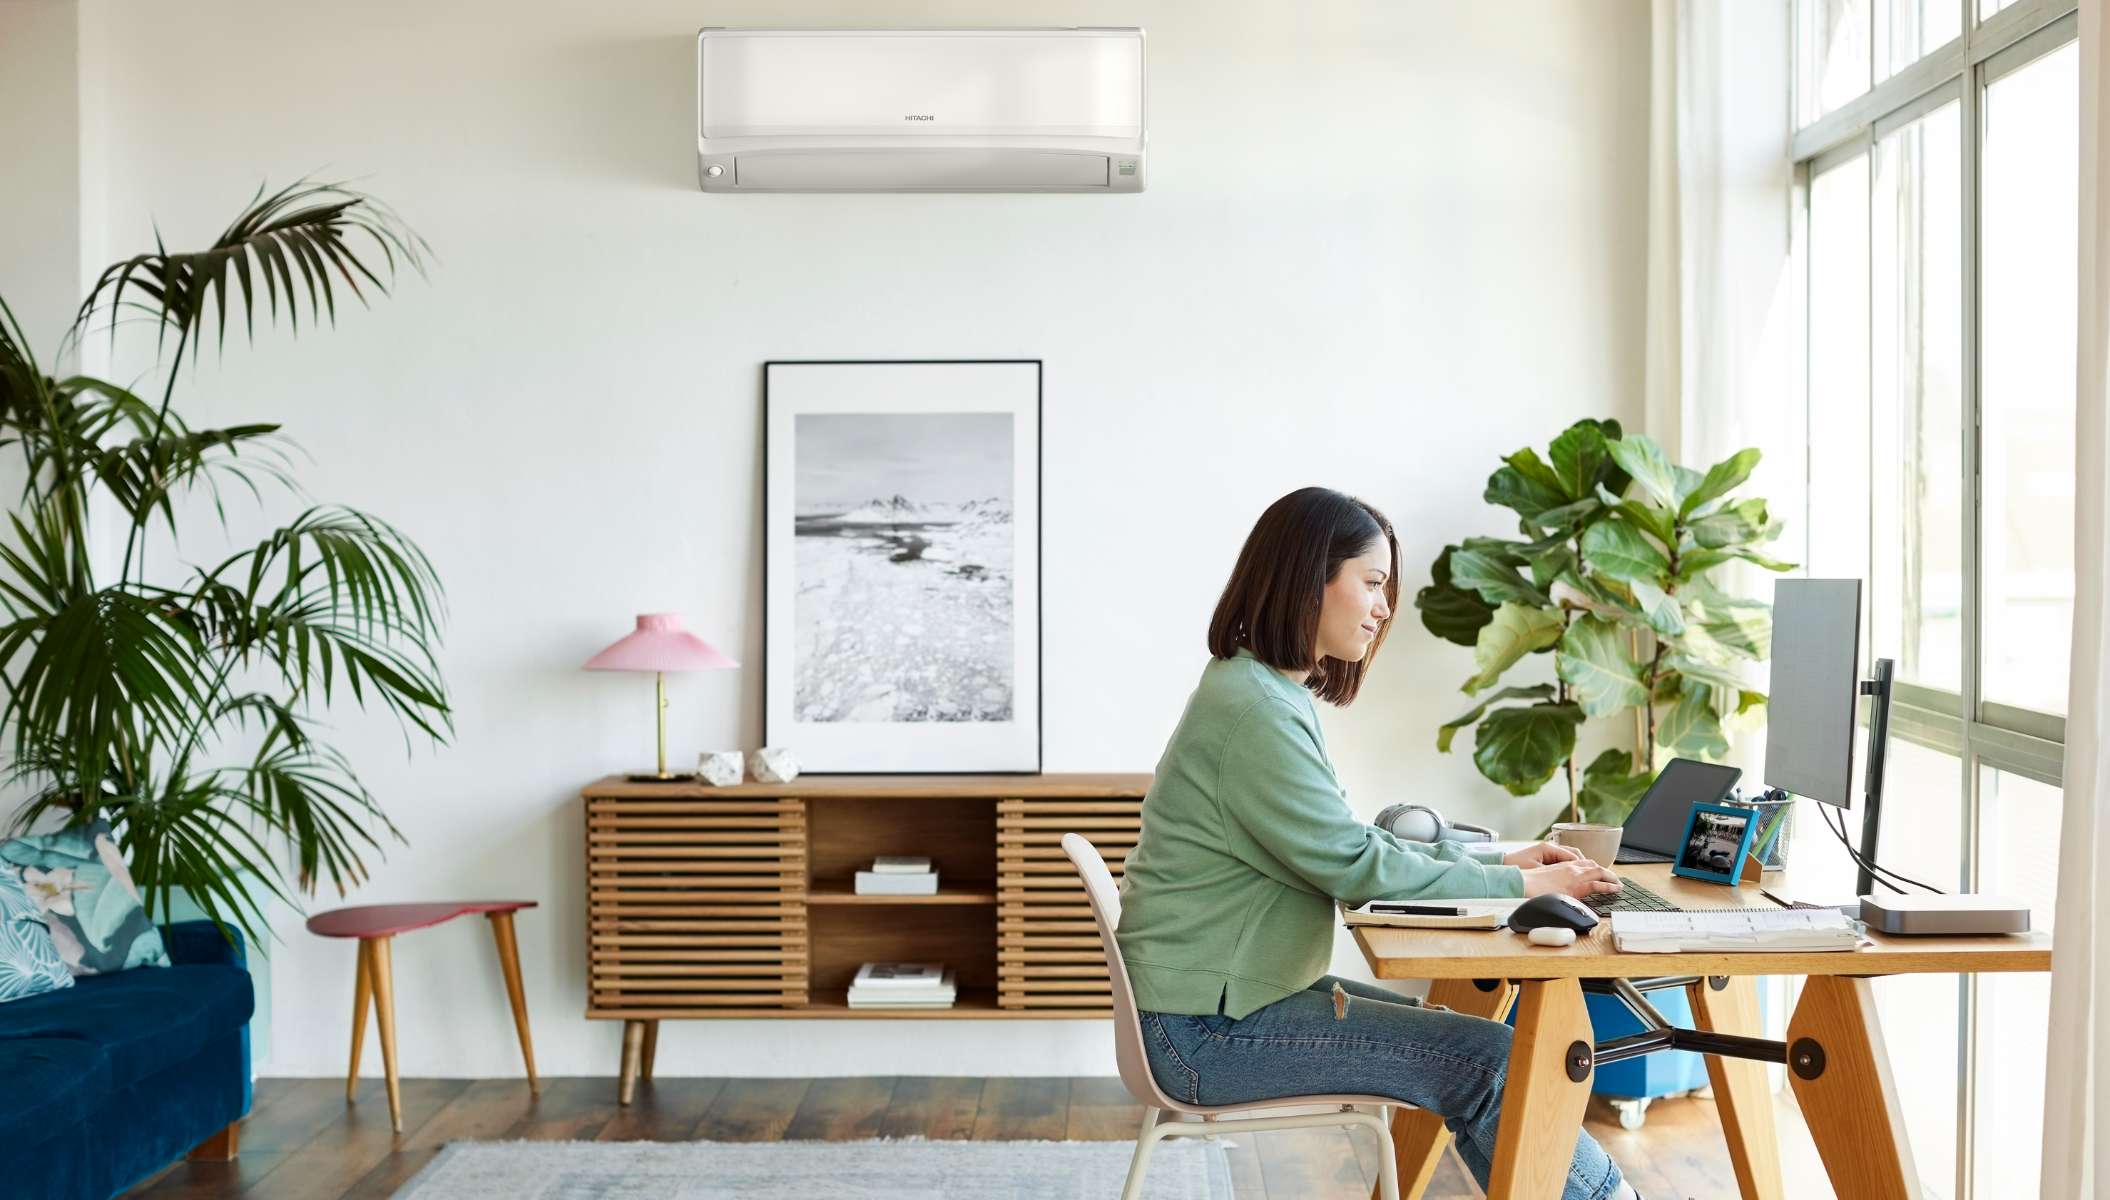
Indoor Units
Best Indoor Locations for Wall-Mounted Split Units
Wall-mounted indoor units perform best when installed on an exterior wall, positioned high enough to allow unrestricted airflow across the entire room. The ideal height is typically 7 to 8 feet from the floor, giving conditioned air space to disperse naturally before reaching occupants.
Choose a central location along the longest wall of your room whenever possible. This positioning allows the unit to project air evenly in both directions, minimizing temperature variations. Avoid corners unless the room layout absolutely requires it, as corner placement can create uneven airflow patterns.
Air Distribution and Coverage Considerations
Every mini split has a specific throw distance—the maximum length conditioned air can travel before losing effectiveness. Understanding your unit's capabilities helps determine whether a single indoor head can adequately serve your space or if multiple units are necessary for larger or irregularly shaped rooms.
Keep the area directly below and in front of the unit free from tall furniture, curtains, or other obstructions. Blocking the airflow path forces the system to work harder and prevents proper circulation. Maintain at least 6 inches of clearance on all sides for optimal air intake and output.
Indoor Areas to Avoid for Wall-Mounted Split Installation
Direct Sunlight Exposure: Mounting your unit where it receives direct sunlight can cause the thermostat sensor to misread room temperature. This leads to inefficient operation as the system attempts to compensate for perceived heat that doesn't represent actual conditions.
Above Heat Sources: Avoid placing indoor units directly above stoves, ovens, radiators, or other heat-generating appliances. The rising heat interferes with temperature sensing and forces the unit to run excessively.
Near Doorways or High-Traffic Areas: Constant air movement from doors opening and closing disrupts the unit's ability to maintain stable temperatures. Position your unit away from main entry points whenever feasible.
Behind Obstacles: Recessed alcoves, behind beams, or areas blocked by structural elements prevent proper air circulation. Always ensure a clear line of sight between the unit and the primary living area.
/L_BODY22%20NR.jpg)
Outdoor Units
Best Outdoor Locations for Wall-Mounted Split Units
The outdoor condenser unit needs adequate ventilation to expel heat efficiently during cooling mode and draw in ambient air during heating operation. Select a location with at least 24 inches of clearance on all sides and ensure nothing obstructs the fan exhaust on top of the unit.
Position the outdoor unit on a stable, level surface that can support its weight. Concrete pads, mounting brackets, or purpose-built stands work well. The location should allow easy access for maintenance tasks like filter cleaning and refrigerant checks.
/L_BODY222%20NR.jpg)
Distance from Indoor Unit and Clearance Guidelines
Refrigerant lines connecting indoor and outdoor components have maximum length limits specified by the manufacturer. Shorter line runs generally improve system efficiency and reduce installation costs. Most residential units perform optimally with line lengths under 50 feet.
Consider the elevation difference between units as well. Excessive vertical separation can strain the compressor and reduce performance. Consult your specific model's documentation for recommended maximum height differentials.
Airflow Requirements and Clearance Guidelines
Restricted airflow around the condenser dramatically reduces efficiency. Avoid placing the unit in enclosed spaces, tight corners, or areas surrounded by dense vegetation. The compressor generates significant heat that must dissipate freely into the surrounding environment.
Keep landscaping trimmed back at least 2 feet from the unit. While some homeowners prefer to screen outdoor equipment with shrubs or fencing, never completely enclose the condenser. Decorative covers or lattice panels should maintain generous ventilation gaps.
Protection from Elements and Debris
While outdoor units are designed for exterior installation, strategic placement can extend their lifespan. Position the condenser where it's protected from falling debris like leaves, branches, and ice. Avoid locations directly beneath roof edges where water runoff or snow slides could damage the unit.
In regions with heavy snowfall, elevate the unit above expected snow accumulation levels. Consider installing a protective awning or purpose-built cover that shields the top while maintaining side ventilation. Never allow snow or ice to build up around the unit during winter months.
Noise Considerations for Your Outdoor Unit
Outdoor condensers produce operational noise that may disturb you, your family, or neighbors. Think carefully about proximity to bedrooms, outdoor living areas, patios, and property lines. Many municipalities have noise ordinances that restrict equipment placement near adjacent properties.
Sound reflects off hard surfaces like walls and fences, potentially amplifying perceived noise levels. Positioning the unit away from reflective surfaces or using sound-absorbing landscaping elements can help minimize disturbance while maintaining proper airflow requirements.
Outdoor Areas to Avoid for Wall-Mounted Split Installation
Dusty or Polluted Areas: Locations near driveways, unpaved paths, or industrial activities expose the unit to excessive dust and debris. Particulate matter clogs coils and filters, reducing efficiency and requiring more frequent maintenance.
Flood-Prone Zones: Never install outdoor units in areas susceptible to standing water or flooding. Electrical components and the compressor can sustain serious damage from water exposure, potentially creating safety hazards.
Corrosive Environments: Coastal properties with salt air exposure or locations near swimming pools with chlorine off-gassing accelerate corrosion. If installation in such areas is unavoidable, consider units with enhanced corrosion-resistant coatings.
Direct Exhaust Paths: Avoid placing the outdoor unit where its exhaust blows directly onto walkways, seating areas, or plants. The hot or cold air discharge can be uncomfortable for people and harmful to sensitive vegetation.
Frequently Asked Questions
What is the best place to install a wall-mounted split? Is there a rule of thumb I can apply to multiple rooms in my house?
The most effective approach is mounting indoor units high on exterior walls, centered along the longest dimension of each room. This allows conditioned air to sweep across the entire space before descending to occupied areas. For multi-room installations, prioritize rooms where you spend the most time and ensure each unit has unobstructed airflow paths.
What should be considered when installing a wall-mounted split system?
Key factors include room size and shape, ceiling height, existing furniture layout, window locations, and structural considerations for mounting. You'll also need to plan refrigerant line routing between indoor and outdoor units, electrical requirements, and condensate drainage. Professional assessment ensures all these elements work together for optimal performance.
Why is professional assessment important for mini split installation?
HVAC professionals bring expertise in load calculations, building codes, and manufacturer specifications that ensure your system performs as intended. They can identify potential issues before installation, recommend appropriate equipment sizing, and guarantee the work meets safety standards. Professional installation also typically includes warranty coverage that DIY approaches cannot match.
The Importance of Professional Assessment
While understanding placement principles empowers you to participate meaningfully in installation decisions, partnering with qualified HVAC technicians ensures your system achieves its full potential. Professionals use specialized tools and calculations to determine exact positioning requirements based on your home's unique characteristics.
A thorough professional evaluation considers factors beyond basic placement, including insulation quality, air infiltration rates, solar heat gain, and occupancy patterns. This comprehensive approach results in a system that delivers consistent comfort while minimizing energy consumption throughout the year.
Don't underestimate the value of expert guidance. The upfront investment in professional assessment and installation pays dividends through improved performance, reduced operating costs, and extended equipment life. Your comfort and satisfaction depend on getting the details right from the start.
The Importance of Your Wall-Mounted Split Placement
Proper mini split placement transforms a good HVAC system into an exceptional one. Taking time to evaluate your options, understand airflow dynamics, and work with qualified professionals ensures you'll enjoy reliable comfort for years to come.
Whether you're cooling a backyard workshop, heating a detached garage, or maintaining perfect temperatures in your living spaces, thoughtful placement decisions make all the difference in system performance and energy efficiency.
Ready to Upgrade Your Climate Control?
Explore our selection of premium wall-mounted split systems designed for optimal performance and energy efficiency.
Friedrich WallMaster