


 Damage
  Loss
Loss  Theft
Theft 


How to Use a Sewer Inspection Camera
A sewer inspection camera is one of the most valuable tools you can have when dealing with drain and pipe issues. Whether you are a seasoned plumbing professional or a dedicated homeowner tackling maintenance on your own, understanding how to properly operate a pipe camera can save you significant time and money. Rather than guessing at what lies beneath the surface, you can visually diagnose the problem before deciding on your next course of action.
With the right technique and a solid understanding of how these cameras work, you will be equipped to identify blockages, locate damage, and plan repairs with precision. This guide walks you through every stage of the process — from powering on the unit to wrapping up your inspection.
Uses of a Pipe Camera
Why this tool belongs in every serious toolkit
If you have been wondering what kinds of jobs a sewer inspection camera can handle, you will be pleased to know the answer is quite a few. These cameras serve multiple purposes, making them a worthwhile investment for anyone who deals with plumbing systems regularly. Here are some of the most common applications:
Locating Obstructions in a Pipe
When a client or household is dealing with a drain that keeps backing up or refuses to let water flow properly, a pipe camera can quickly reveal the cause. By feeding the camera into the line, you can see exactly what type of obstruction is present and where it is located. Blockages can be caused by anything from accumulated grease and soap buildup to small objects, tree roots that have infiltrated the pipe, and even structural collapses. A visual confirmation eliminates the guesswork and lets you choose the most effective solution from the start.
Identifying Damaged Plumbing
In certain situations, the real issue is not a clog at all — it is a pipe that has cracked, collapsed, or deteriorated over time. A sewer camera lets you pinpoint the exact location and severity of the damage. This is especially useful because it can save your customer from unnecessary expense. If only a small section needs repair, there is no reason to dig up an entire yard or tear through walls for a larger-scale replacement. Targeted repairs are faster, less invasive, and far more affordable.

How to Operate a Sewer Inspection Camera
Step-by-step instructions for a smooth inspection
Every drain camera brand and model will have slight differences in operation. However, the core process remains fairly consistent across the board. The steps below will guide you through the essentials. For model-specific details, always consult your owner's manual to avoid accidentally damaging your equipment or the pipes you are inspecting.
Before You Get Started
Safety should always come first before any sewer or drain inspection job. Make sure you are wearing all necessary personal protective equipment — not just for yourself, but for anyone else on the job site. This is not something to skip or rush through for the sake of convenience. Safety first is a well-known principle for good reason, and it holds especially true when working around plumbing systems.
Above all else, make sure every exposed area of skin is properly covered. Wear rubber gloves, safety glasses, coveralls, rubber boots, industrial-grade face masks, and a hard hat. Sewer water and drain waste can carry all manner of bacteria that could cause illness or infection. Treat this step as non-negotiable — it protects both you and anyone you may come into contact with afterward.
Powering Up the Sewer Camera
The very first step in any sewer inspection is getting the camera unit powered on and ready to go. Most modern pipe cameras are equipped with rechargeable batteries that can last for several hours, so you generally do not need to worry about plugging into an outlet while on the job. That said, make sure the unit is grounded correctly and that there is no standing water near the power cable. This helps you avoid electrical hazards and protects the camera from short circuits or electrocution risks.
Once that is taken care of, switch the camera on. With most units, you will press and hold the power button for a couple of seconds. The location of this button varies depending on the model. After the battery has been charging for more than two hours, you should be ready to go. The monitor unit will power up and display the camera feed, showing you a live view of whatever the lens is pointed at. Check to make sure there are no visible issues with your equipment or the surrounding area before moving forward.

Starting the Inspection
When you are ready to begin your survey of the drain or sewer line, the first thing to do is make sure your camera light is turned on. If you skip this step, all you will see on your screen is complete darkness — which obviously defeats the entire purpose of the inspection. You need that light to see the interior of the pipe, identify what is causing any issues, and determine whether there is a backup, blockage, or structural problem disrupting the normal flow of water.
Most modern sewer inspection cameras come with adjustable brightness settings, so you can fine-tune the light level depending on the conditions inside the pipe. Take a moment to select the brightness that gives you the clearest, most detailed view of the drain interior. This will help ensure your survey is thorough and accurate from the very beginning.
Recording Your Findings
Once your pipe camera is powered on and the lighting has been adjusted to your liking, make sure the unit is actively recording before you begin feeding the cable into the pipe. If you forget this step, you will not be able to review your footage afterward, and you may miss something important that was only visible for a brief moment during the live feed.
Different camera models handle recording in slightly different ways, so refer to your user manual for the specific steps that apply to your unit. In general, though, once you have confirmed all necessary settings, you can switch to your camera's basic mode and begin capturing footage by pressing the record button on your plumbing camera. This will allow you to save and review everything the camera sees during the inspection.
While the recording is in progress, you can use the keyboard to add notes and annotations. If the unit includes a microphone, you can also record voiceover commentary to explain what you are seeing in real time. This is especially useful for creating clear records that other team members or clients can review later. When you are finished recording, simply press the Stop button on your camera.
Feeding the Probe Into the Drain or Sewer
Now that you have your camera recording, you can begin the process of surveying the inside of the plumbing. Keep in mind that while you are doing this, you want to avoid making contact with the inner walls of the pipe more than necessary. You also do not want to force the cable through with quick, jerky movements. Being too aggressive with a sewer camera cable can lead to serious damage to your hardware, costing you valuable time, money, and missed opportunities on the job. Take it slow and advance the cable steadily as you progress through the line.
One helpful tip is to allow a small amount of water to flow through the pipe while the camera is being fed through. This helps keep the system clean as you work and reduces friction between the cable and the pipe walls, allowing for smoother navigation. If you arrive at a section where water is actively running and blocking your view, you can temporarily shut it off until you have passed through that area, then resume normal flow.
★ Pro Tip
Once you have surveyed everything that needs to be seen, you can begin retrieving the cable. Do not rush this step — pulling the cable out with excessive force can cause unnecessary damage to both the pipe and the camera. Apply steady, gradual force while guiding the cable back out smoothly.
Retrieving the Sewer Inspection Camera Cable
Once you have finished surveying the plumbing system and are satisfied that you have captured footage of everything that needs attention, you can begin pulling the pipe camera cable back out of the line. You do not want to rush this by yanking the cable out with brute force. Instead, apply a slow, steady pull and guide the cable evenly to prevent it from snagging or catching on anything inside the pipe. If the cable jams at any point, do not force it — gently work it back and forth until it releases, then continue pulling it out carefully.
The drain camera cable may occasionally get hung up during retrieval if it was not properly manipulated on the way in. If this happens, remain patient and ease it through the trouble spot. Forcing the cable can cause damage to the line itself or to the camera head.
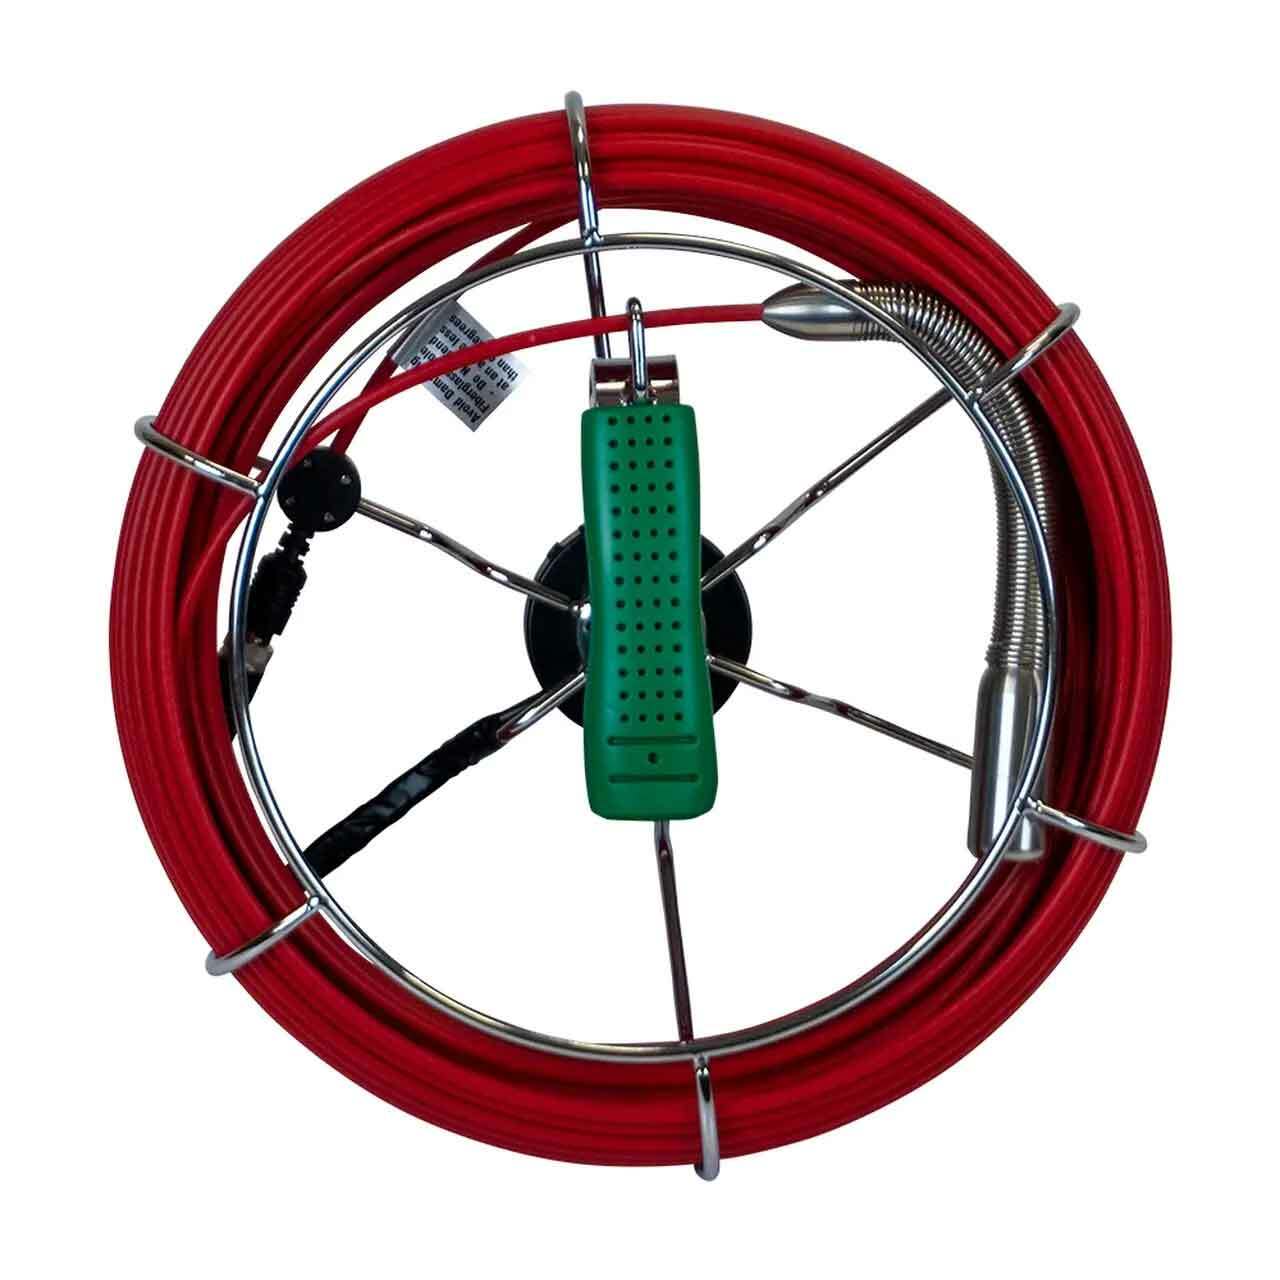
One thing to keep in mind is that when you are retrieving the cable, you should allow running water to flow into the drain at the same time. This reduces the friction between the cable and the pipe interior, making extraction significantly easier. Additionally, always store your pipe camera cable in its reel — not loosely coiled — regardless of whether your system uses a closed reel housing or an open reel design. Proper storage keeps the cable organized, easy to transport, and in good working condition. To begin the reeling process, gently guide the drain camera cable using the hook of the handle, then rotate the reel to wind the inspection camera cable neatly back inside.
Wrapping Up the Survey
After you have fully retrieved your sewer inspection camera cable and locked it securely back in its reel, you can bring the survey to a close. Shut down the machine and take a moment to verify that everything on the monitor hub and all connected components are saved and stored correctly. You want to be completely certain that all the notes, recordings, and data you collected are intact. Once you have confirmed this, hold the power button for a couple of seconds as you did when turning it on, and the sewer camera will power down.
One important thing to be aware of is that rechargeable sewer camera batteries have a tendency to lose charge over time. In some units, the battery may drain at a rate of about one percent per second and then shut itself down automatically after around ten minutes without input. When this occurs, the unit will need to be recharged before it can be used again. Because of this, make sure you charge the battery between each use and carry a backup if possible. It would be extremely frustrating to run out of power in the middle of a critical sewer survey — especially when you are close to identifying the root cause of the problem.
Ready to Inspect With Confidence?
Equip yourself with professional-grade sewer inspection technology.
Hathorn H7 SL Camera 200-Ft Wi-Fi