


 Damage
  Loss
Loss  Theft
Theft 


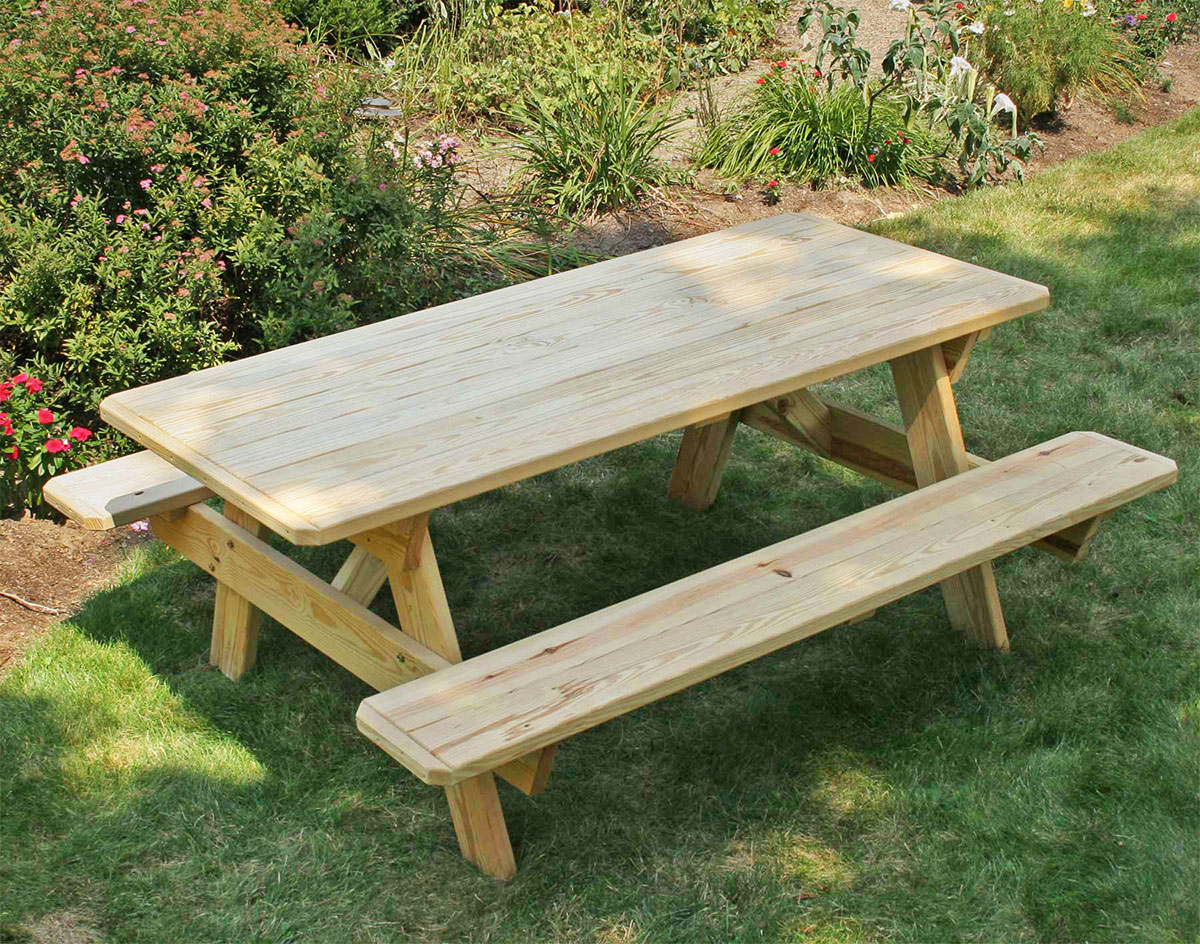
How to Build a Classic Picnic Table: Complete Plans & Step-by-Step Instructions
This picnic table design is one of the most popular all-in-one outdoor builds around, and for good reason. It works perfectly near central Texas or anywhere you need a reliable, sturdy spot for family meals, weekend barbecues, or casual hangouts. It's a solid mid-level woodworking project that's straightforward enough for most DIYers to tackle.

Getting Started: Safety & Preparation
Before picking up any tools or slicing through lumber, take a moment to carefully read through these instructions from beginning to end. Getting familiar with every step in advance will help you avoid costly mistakes and ensure a smoother build overall. Being prepared is the key to a safe and successful project.
When working with a table saw, miter saw, circular saw, or any power tool, always follow the manufacturer's safety guidelines. Wear appropriate eye and ear protection, and keep your workspace clean and organized. Woodworking is rewarding, but safety should always come first.
⚠ Safety Reminder
A safer option for assembling your picnic table is to purchase pre-built steel legs. This approach meets structural requirements, eliminates the risk of incorrect leg angle cuts, and ensures long-lasting durability with far less effort. Consider this especially if you want a rock-solid frame without the complex joinery.
Power Tools You'll Need
🔧 Table Saw or Circular Saw
🔧 Miter Saw (recommended)
🔧 Drill / Driver
🔧 Jigsaw (optional)
Material List
Here's what you'll need to pick up from the lumber yard. The quantities are based on standard sizing and may vary slightly depending on the exact dimensions you choose. You might have leftover material, which is great for other backyard projects.
| Material | Size | Qty | Purpose |
|---|---|---|---|
| Lumber (2×6) | 12 ft | 5 | Tabletop & Bench Seats |
| Lumber (2×4) | 8 ft | 4 | Legs, Braces, Supports |
| Carriage Bolts | 3/8" × 3.5" | 4 | Leg Assembly |
| Deck Screws | 2.5" & 3" | 1 lb each | General Fastening |
| Wood Stain / Sealant | 1 gallon | 1 | Weather Protection |
Picnic Table Plans & Dimensions
You can customize these dimensions to match your personal preferences or available space. The measurements listed below are the default recommended values, but feel free to increase or decrease the size of the table according to your needs. For instance, you can make the table wider for a bigger gathering surface or slightly shorter for child-friendly use.
When adjusting dimensions, be sure to recalculate the angular cuts on the legs to maintain proper structural support. The standard A-frame leg design uses compound angles that need to stay proportional to the table's width and height for stability.
Step-by-Step Build Instructions
Build the A-Frame Leg Assemblies
Start by cutting four leg pieces from 2×4 lumber. Each leg should measure approximately 36 inches in length. With a miter saw, cut a 60-degree angle at each end to form the classic A-frame splay. Lay two legs together to form an inverted "V" shape and connect them at the top using a horizontal brace piece. Secure with carriage bolts for maximum strength. Repeat the process for the second leg assembly.

Attach the Cross Brace
Once both leg assemblies are complete, connect them with a horizontal cross brace running diagonally between the two frames. This brace adds tremendous lateral stability and prevents the table from racking or wobbling under load. Cut a 2×4 piece to span the distance between the inner legs, then screw it firmly into position. Some builders prefer to bolt this joint as well for added peace of mind.

Install the Tabletop Planks
Lay the tabletop boards across the leg assemblies. Use five 2×6 boards cut to your desired table length — the standard is around 6 feet. Space the boards roughly 1/4 inch apart to allow for wood expansion and water drainage. Attach each board to the support frame using 3-inch deck screws, pre-drilling pilot holes to prevent splitting. Make sure all boards are flush at the edges and level across the top surface.

Attach the Bench Seat Supports
Cut angled seat support brackets from 2×4 material. These supports extend outward from each leg assembly to hold the bench seats at a comfortable sitting height — roughly 18 inches from the ground. Secure each bracket to the leg assembly using screws or bolts, making sure they are level and symmetrical on both sides. The angle of the seat supports should match the splay of the legs for a clean, integrated look.

Add the Bench Seat Boards
Place two 2×6 boards on each side of the table to form the benches. Like the tabletop, leave a small gap between the boards for expansion. Screw them down securely into the seat supports with 2.5-inch deck screws. Round over the outside edges of the bench boards with a router or sandpaper for a more comfortable seating surface and a polished final appearance.
Cut Decorative Ends & Sand Everything
For a more refined look, cut rounded or angled ends on the tabletop and bench boards. Mark equal distances from the edge on each end plank, then use a jigsaw to follow a curved line. Sand the entire table thoroughly, starting with 80-grit and working up to 150-grit sandpaper for a smooth finish. Pay special attention to edges and corners that will be touched frequently.
Apply Finish & Seal
Apply at least two coats of exterior-grade wood stain or sealant to protect the table from the elements. Allow adequate drying time between coats as recommended by the product manufacturer. A good sealant will guard against UV damage, moisture, and general wear. Reapply annually or as needed to keep the table looking great year after year.
Picnic Table: With & Without Backrest
This design works beautifully as a standard flat-bench picnic table, but it can also be adapted to include backrests for extra comfort. If you choose to add backrests, extend the rear leg pieces upward and attach angled backrest boards to them. This gives your table a more finished look and makes long meals even more enjoyable.

Additional Build Notes
When selecting lumber, choose boards that are straight and free of large knots or cracks. Pressure-treated lumber is ideal for outdoor use since it resists rot and insect damage. Cedar and redwood are excellent natural alternatives if you prefer a chemical-free option — they're naturally resistant to decay and look beautiful with a clear sealant.
For the leg assembly joints, always pre-drill your bolt holes to ensure a tight, clean fit. Using washers on both sides of each bolt will distribute pressure evenly and prevent the wood from crushing over time. If you plan on moving the table frequently, consider adding handles or using lighter lumber to keep the weight manageable.
These plans are a great starting point, but feel free to personalize the build to your liking. Some builders add cup holders, umbrella holes, or even built-in cooler compartments for a truly custom backyard centerpiece.
Skip the Complex Leg Cuts — Go With Steel
Pre-fabricated heavy-duty steel legs take the guesswork out of your build. Simply bolt them on and attach your lumber — it's faster, stronger, and built to last a lifetime.
Pilot Rock Steel Picnic Table Legs Kit