


 Damage
  Loss
Loss  Theft
Theft 


How to Install a Ductless Mini Split Air Conditioner
Backyard Provider Editorial · Updated 2026
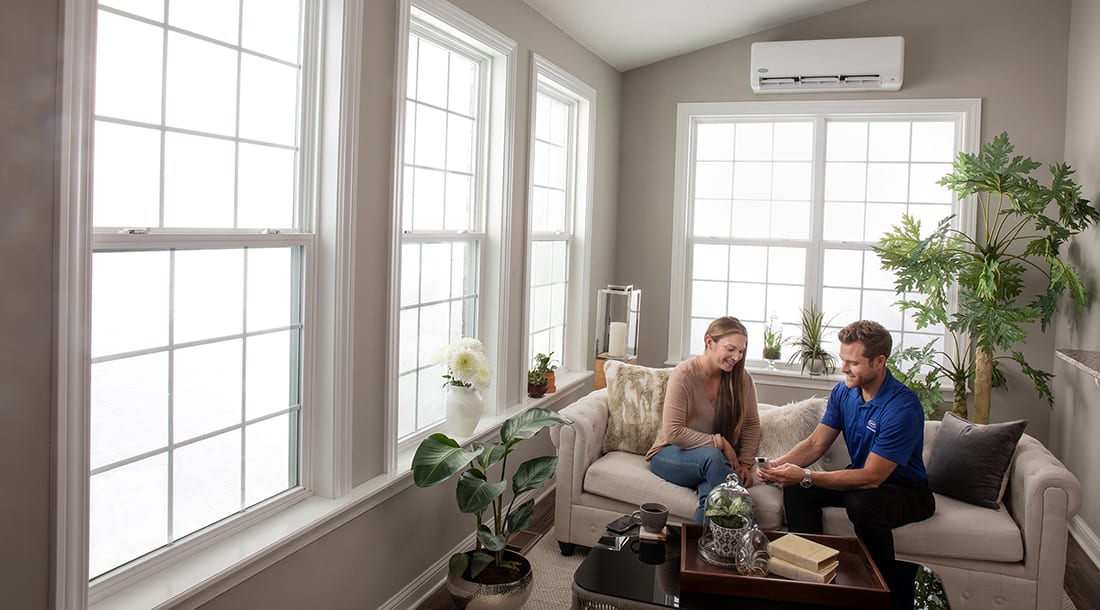
Setting up a ductless mini split is quite different from putting in a conventional central air unit. For most homeowners, it's not a straightforward weekend project. Understanding the basics of mini split installation — including where your units should go and when to bring in an expert — can save you time, money, and a lot of headaches down the road.
This guide walks you through the essential steps for preparing, installing indoor and outdoor components, and highlights why professional installation often pays for itself many times over.
How to Prepare for Your Ductless Mini Split Installation
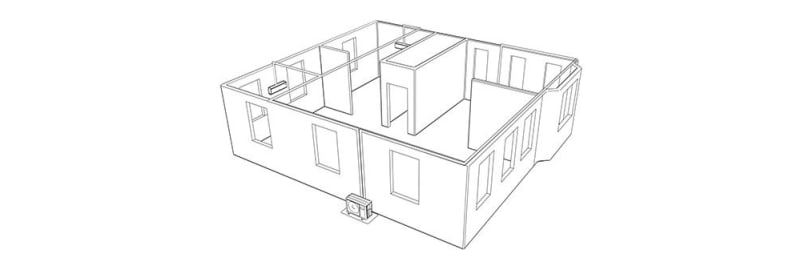
Before any drilling or mounting begins, proper preparation is essential. A ductless mini split system has two main components — an indoor air-handling unit and an outdoor condenser — connected by a set of refrigerant lines, electrical wiring, and a condensate drain. Getting ready means ensuring you have:
The Right Unit Size
Choose the correct BTU capacity based on room size and insulation levels.
Optimal Location
Select a wall area free from obstructions that allows efficient airflow distribution.
Required Materials
Gather mounting brackets, a hole saw, electrical connections, and line set covers.
Permits & Regulations
Check local building codes and determine if permits are needed for installation.
Preparing ahead of time is crucial. You'll want a qualified HVAC professional to evaluate your home's layout and electrical system. They'll confirm that the chosen location can support the unit, that there's adequate clearance for airflow, and that your electrical panel can handle the additional load. Skipping this step often leads to poor cooling performance, wasted energy, or even damage to the system.
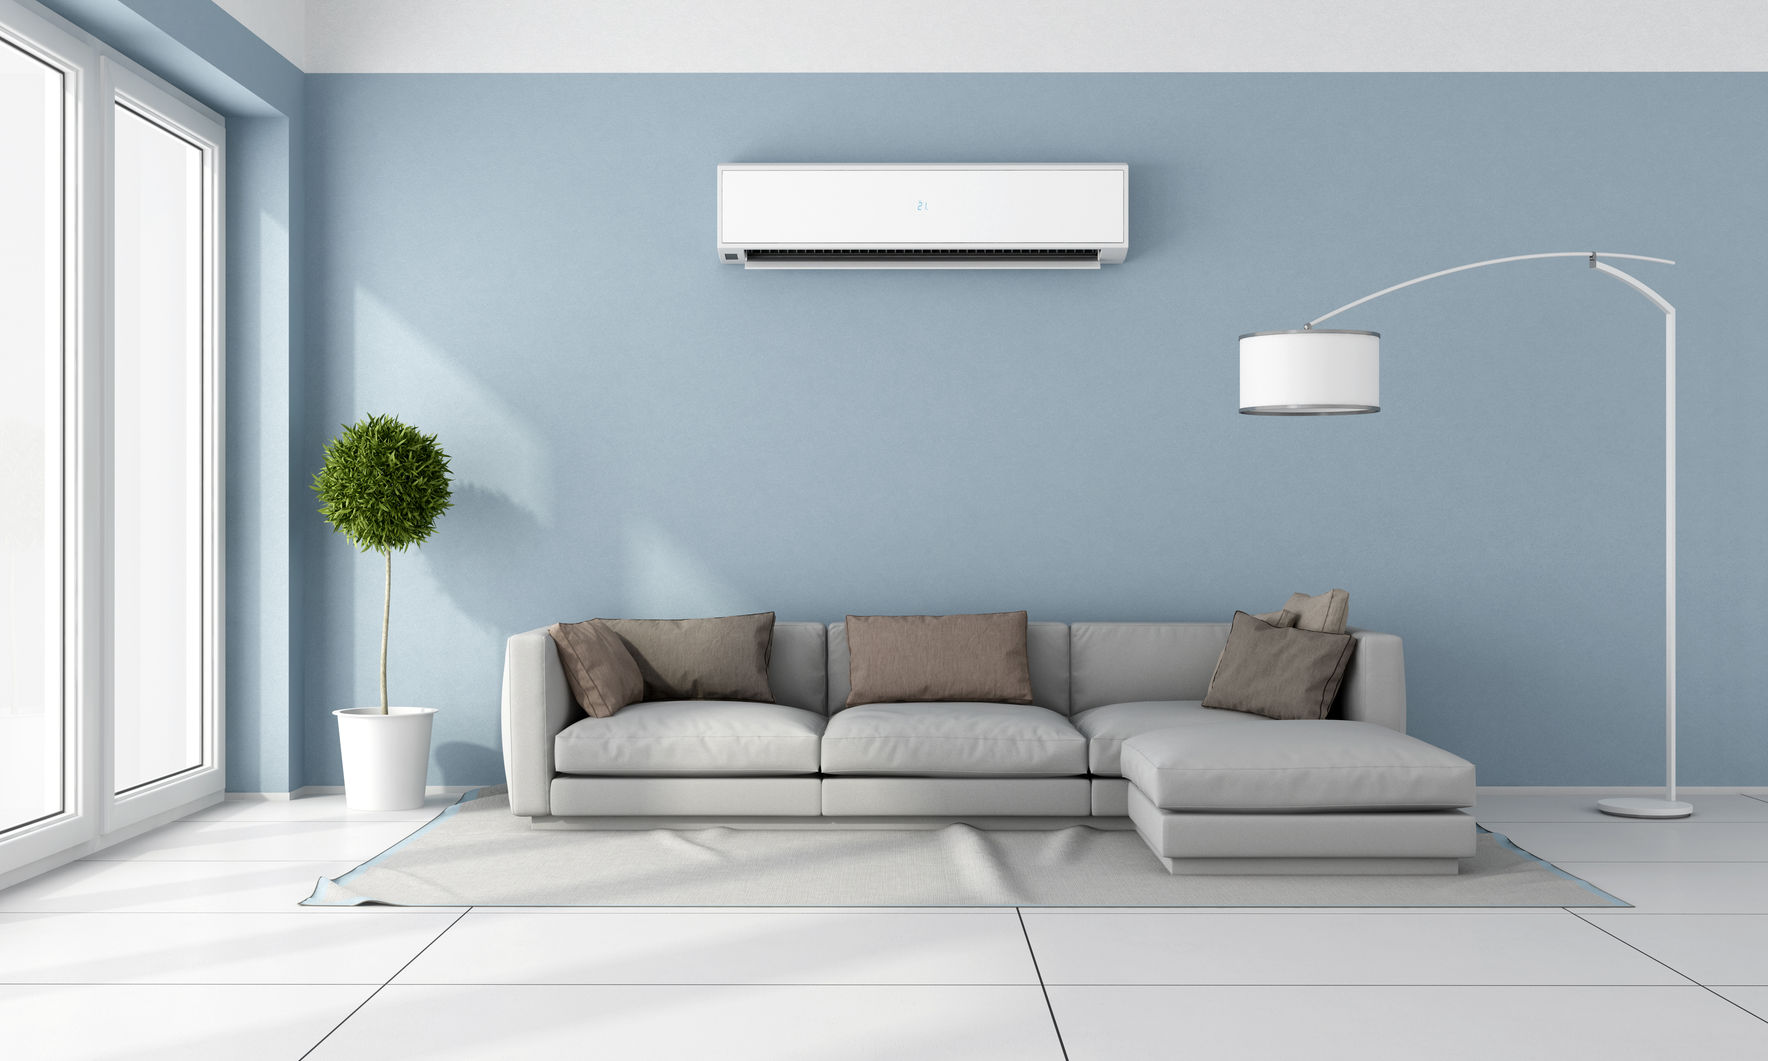
Installing the Indoor Ductless AC Unit
The indoor component of a mini split handles the actual cooling and warming of your living space. Installing it correctly is essential for efficient temperature control and quiet operation. Here are the key steps involved:
1. Select the mounting position. Identify the best wall location — typically high on the wall in the room you want to condition. The unit should be placed where air can circulate freely and away from direct sunlight or heat sources.
2. Secure the mounting plate. Use a level to ensure the bracket sits perfectly horizontal. An uneven mount can cause drainage problems and affect performance.
3. Drill the wall opening. A hole roughly 3 inches in diameter needs to be drilled through the wall for the refrigerant lines, electrical cable, and drain pipe to pass through.
4. Route the line set. Feed the refrigerant tubing, electrical wiring, and condensate drain line through the opening to connect with the outdoor unit.
5. Connect the power cable. Wire the indoor unit according to the manufacturer's electrical diagram. This step typically requires a licensed electrician.
6. Mount the unit and test. Hang the air handler on the bracket, ensure all connections are tight, and verify proper drainage before powering on.
It's important to note that any installation involving refrigerant lines and electrical wiring should be handled — or at least supervised — by a certified HVAC technician. Improper connections can result in refrigerant leaks, electrical hazards, or voided manufacturer warranties.
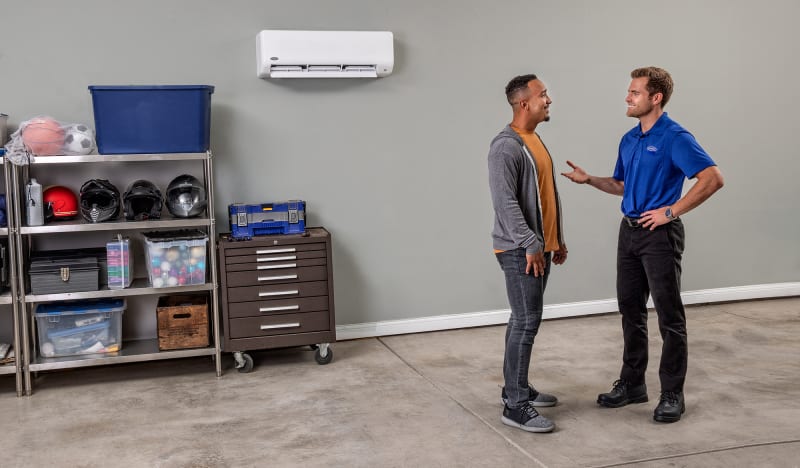
Installing the Outdoor Condenser Unit
The outdoor unit is the powerhouse of your ductless system. It houses the compressor and condenser coil, expelling heat absorbed from inside your home. Proper placement and installation are critical for long-term reliability and energy efficiency.
1. Choose the right spot. Place the condenser on a flat, stable surface — preferably a concrete pad or wall-mounted bracket — away from debris, shrubs, and areas prone to flooding.
2. Maintain adequate clearance. The outdoor unit needs sufficient space around it for proper airflow and future maintenance. Most manufacturers recommend at least 24 inches of open space on all sides.
3. Connect the refrigerant lines. The copper tubing must be carefully connected, flared, and sealed to prevent any leaks. A vacuum pump is used to evacuate moisture and air from the system before charging.
4. Complete the electrical hookup. Run the dedicated electrical circuit from your breaker panel to the outdoor unit, ensuring it meets the amp and voltage requirements specified by the manufacturer.
5. Protect with a line cover. Install a line set cover along the exterior wall to shield the refrigerant tubing and wiring from weather exposure and to keep things looking clean.
6 Benefits of Professional Mini Split Installation
While DIY is tempting, here's why trusting a certified HVAC technician often makes the most sense.
Warranty Protection
Most manufacturers require professional installation to keep your warranty valid. A DIY job could void your coverage entirely.
Correct Sizing
Professionals perform load calculations to make sure you get the right BTU capacity — preventing an undersized or oversized system.
Safety Assurance
Handling refrigerants and high-voltage wiring carries real risk. Licensed technicians have the training and certification to do this safely.
No Guesswork on Permits
Experienced installers know local codes and will secure the necessary permits, ensuring your installation passes inspection.
Energy Efficiency
A properly installed system runs at peak efficiency, helping you save on utility bills and reduce your environmental footprint year after year.
Long-Term Reliability
Professional installation reduces the chance of premature breakdowns, refrigerant issues, or drainage problems that lead to costly repairs.
Exploring Ductless Air Conditioning Options
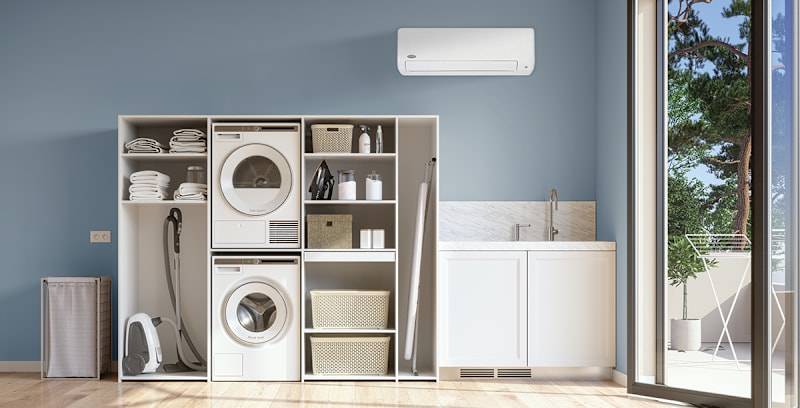
Ductless mini split systems deliver flexible, energy-efficient comfort without the need for extensive ductwork running through your walls and ceilings. They're ideal for older homes, new additions, garages, workshops, and spaces where traditional ducted systems simply aren't practical. Modern units offer both cooling and heating in a single package, feature whisper-quiet operation, and come equipped with smart controls compatible with Wi-Fi and voice assistants.
When shopping for a ductless system, pay close attention to the SEER (Seasonal Energy Efficiency Ratio) rating — the higher the SEER, the more efficiently the unit operates. Also consider the number of zones you need. A single-zone system works well for one room, while multi-zone systems can independently climate-control several spaces from a single outdoor condenser. Whether you're cooling a sunroom, heating a basement, or maintaining year-round comfort in your entire home, there's a ductless configuration to match.
Ductless Mini Split Installation FAQs
How far can a mini split be from the condenser?
Most ductless systems allow a maximum line set distance of 50 to 100 feet between the indoor and outdoor units. However, shorter runs are always preferable for maintaining system efficiency. Check the manufacturer specifications for your particular model.
What kind of wire do I need for a mini split?
Typically, you'll need a 14/4 or 14/3 stranded copper communication wire to connect the indoor and outdoor units. The dedicated power circuit will usually require 10 AWG or 12 AWG wire, depending on the unit's amperage requirements.
What size breaker do I need for a mini split?
Most single-zone mini splits require a 20-amp or 25-amp dedicated breaker. Multi-zone systems may need a 30-amp or even 40-amp breaker. Always consult the installation manual for your specific unit.
How much clearance do I need for a mini split?
For the indoor unit, maintain at least 6 inches of space above and 4 feet of clearance in front. The outdoor condenser should have at least 24 inches of clearance on all sides for proper airflow and serviceability.
Do you have to cut a hole in the wall for a mini split?
Yes. A hole of approximately 3 inches in diameter is needed to route the refrigerant lines, drain pipe, and communication cable from the indoor unit to the outdoor condenser. The hole is typically sealed with putty to prevent drafts and moisture intrusion.
What's a good SEER rating for a mini split?
A SEER rating of 20 or higher is considered excellent for a ductless mini split. Many modern units achieve SEER ratings between 20 and 33, meaning they deliver outstanding energy efficiency while keeping operating costs low.
Is it legal to install your own mini split?
In most areas, you can physically mount the units yourself. However, handling refrigerants requires EPA Section 608 certification, and electrical work often requires a licensed electrician. Always verify with your local building authority before starting a DIY installation.
Can you install a mini split yourself?
Technically, yes — but it's not recommended for most homeowners. Beyond the legal considerations, improper installation can lead to refrigerant leaks, poor efficiency, and voided warranties. The investment in a professional installer is almost always worth the peace of mind and performance guarantee.
Ready to Upgrade Your Home Comfort?
Browse our selection of high-efficiency ductless mini split systems — built for reliable performance and year-round comfort.
Senville 36000 BTU Dual Zone Mini SplitThis article is provided for informational purposes only. Always consult a certified HVAC professional before starting any installation project. Backyard Provider is not responsible for any damages resulting from DIY installation attempts.