


 Damage
  Loss
Loss  Theft
Theft 


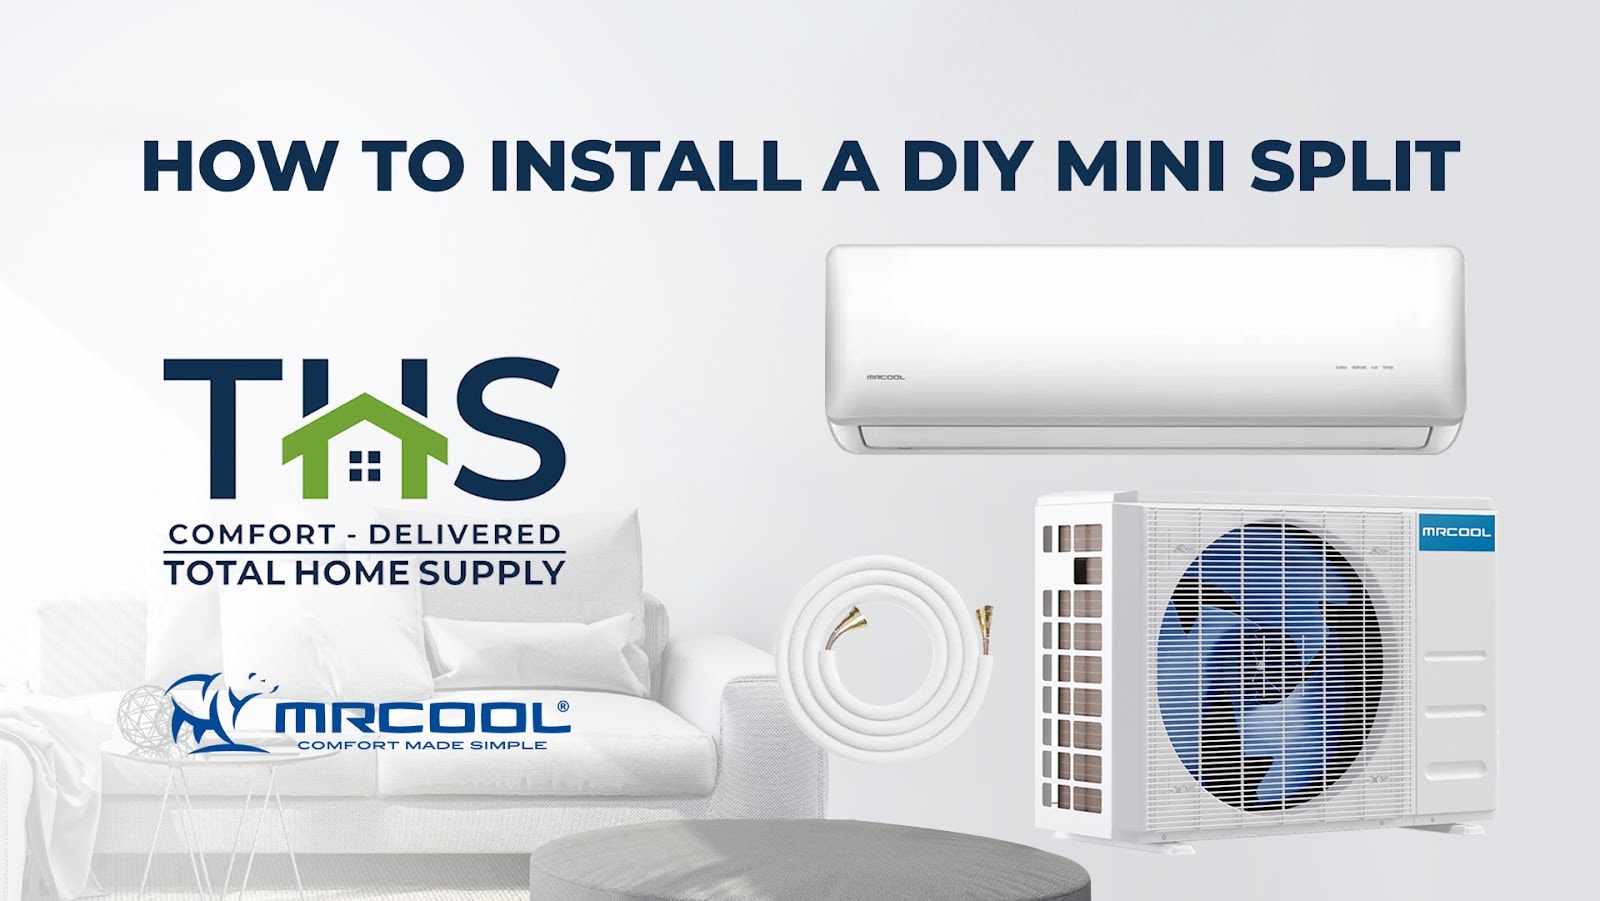
How to Install a DIY Mini Split
Mini split air conditioners and heat pumps have revolutionized home climate control, offering exceptional energy efficiency and versatile heating and cooling solutions. While traditional HVAC systems often require costly professional installation, modern DIY mini split systems are specifically engineered for homeowner installation—saving you thousands in labor costs without compromising performance.
This comprehensive guide walks you through everything you need to know about installing your own ductless mini split system, from understanding the technology to completing a professional-quality installation.
What is a DIY Mini Split?
A DIY mini split is a ductless heating and cooling system specifically designed for homeowner installation. Unlike conventional systems that require HVAC certification to handle refrigerants, DIY mini splits come pre-charged with refrigerant and feature quick-connect line sets that eliminate the need for specialized tools or vacuum pumps.
These systems consist of two primary components: an outdoor condenser unit that houses the compressor, and one or more indoor air handling units that distribute conditioned air throughout your living spaces. The components connect through a small conduit requiring only a 3-inch hole through your wall.

Why Choose a DIY Mini Split System?
Significant Cost Savings
Professional HVAC installation typically costs $1,500 to $3,000 in labor alone. DIY installation eliminates these expenses entirely.
Superior Energy Efficiency
Mini splits use inverter technology that adjusts compressor speed continuously, achieving SEER ratings up to 25—far exceeding traditional systems.
Zone Control Flexibility
Multi-zone systems allow independent temperature control in each room, so you only condition the spaces you actually use.
Straightforward Installation
Pre-charged refrigerant lines and quick-connect fittings mean no specialized HVAC tools or certification required.
DIY Mini Split Installation Requirements
Before beginning your installation, verify that your situation meets these essential criteria:
✓ Adequate electrical capacity—most units require a dedicated 220V circuit
✓ Suitable exterior location for the condenser with proper clearance and drainage
✓ Interior wall space free of obstructions, plumbing, and electrical wiring
✓ Line set length within manufacturer specifications (typically 25-50 feet maximum)
✓ Local building codes permit homeowner HVAC installation
Tools Required for DIY Mini Split Installation
Step-by-Step Installation Guide
Select and Prepare the Mounting Location
Identify an interior wall location that provides optimal airflow distribution throughout the room. The indoor unit should be mounted at least 7 feet from the floor and away from direct sunlight, heat sources, and areas with excessive moisture. Use a stud finder to locate wall studs and verify there are no hidden utilities in the mounting area.
Drill the Conduit Hole
Using a 3-inch hole saw, drill through the wall at a slight downward angle toward the exterior. This angle ensures proper condensate drainage and prevents water from entering the building. Install the provided wall sleeve and seal around it with appropriate weatherproofing materials.
Mount the Indoor Unit
Secure the mounting bracket to the wall using appropriate fasteners for your wall type. Ensure the bracket is perfectly level—even a small deviation can affect drainage and unit operation. Once the bracket is secure, carefully hang the indoor air handler and verify it sits flush against the mounting plate.

Position the Outdoor Condenser
Place the outdoor unit on a level concrete pad or mounting brackets, maintaining at least 24 inches of clearance on all sides for adequate airflow. Position the unit away from areas where snow accumulation, leaf debris, or lawn equipment could interfere with operation. Ensure the location allows for proper condensate drainage.
Connect the Refrigerant Lines
Route the pre-charged line set through the wall conduit, being careful not to kink or damage the tubing. Connect the quick-connect fittings to both the indoor and outdoor units following the manufacturer's specifications exactly. These connections release the refrigerant into the system, so proper technique is essential for optimal performance.
Complete Electrical Connections
Run the communication cable between indoor and outdoor units, connecting the color-coded wires according to the wiring diagram. Connect the power supply to the outdoor unit through a dedicated circuit with appropriate disconnect. If you're not comfortable with electrical work, this step should be completed by a licensed electrician.
Test and Commission the System
Power on the system and run it in both cooling and heating modes to verify proper operation. Check that the indoor unit produces appropriate airflow and that the outdoor unit cycles correctly. Monitor for any unusual sounds, vibrations, or error codes. Allow the system to run for at least 30 minutes to ensure stable performance.
Expert Tips for Optimal Performance
Line Set Management: Avoid sharp bends in the refrigerant lines. Use gentle curves with a minimum bend radius of 4 inches to maintain proper refrigerant flow and system efficiency.
Condensate Drainage: Ensure the drain line maintains a continuous downward slope. Consider installing a condensate pump if gravity drainage isn't feasible for your installation location.
Weatherproofing: Seal all wall penetrations thoroughly with expanding foam and silicone caulk to prevent air infiltration and moisture intrusion.
Regular Maintenance: Clean the indoor unit filters monthly and schedule annual professional maintenance to keep your system running at peak efficiency for years to come.
Our Recommended DIY Mini Split
Perfect for whole-home comfort with dual-zone capability

Senville 36000 BTU Dual Zone Mini Split Air Conditioner and Heat Pump
This powerful dual-zone system delivers 36,000 BTU of heating and cooling capacity, making it ideal for conditioning two separate rooms or a larger open floor plan. Featuring whisper-quiet operation, energy-efficient inverter technology, and a complete DIY installation kit with pre-charged lines, it's the perfect solution for homeowners seeking professional-grade climate control without professional installation costs.
Mini Split Sizing Guide
Selecting the correct BTU capacity is crucial for efficient operation. An undersized unit will struggle to maintain comfort, while an oversized system will cycle too frequently, reducing efficiency and increasing wear.
| Room Size (sq ft) | Recommended BTU |
|---|---|
| 150 - 300 | 9,000 BTU |
| 300 - 500 | 12,000 BTU |
| 500 - 800 | 18,000 BTU |
| 800 - 1,200 | 24,000 BTU |
| 1,200 - 1,500 | 36,000 BTU |
Note: These are general guidelines. Factors such as ceiling height, insulation quality, climate zone, and sun exposure may require adjustments to these recommendations.
Ready to Take Control of Your Home Comfort?
Installing a DIY mini split is one of the most rewarding home improvement projects you can tackle. With the right equipment and this guide, you'll enjoy professional-quality climate control at a fraction of the cost.
Shop Mini Splits Now