


 Damage
  Loss
Loss  Theft
Theft 


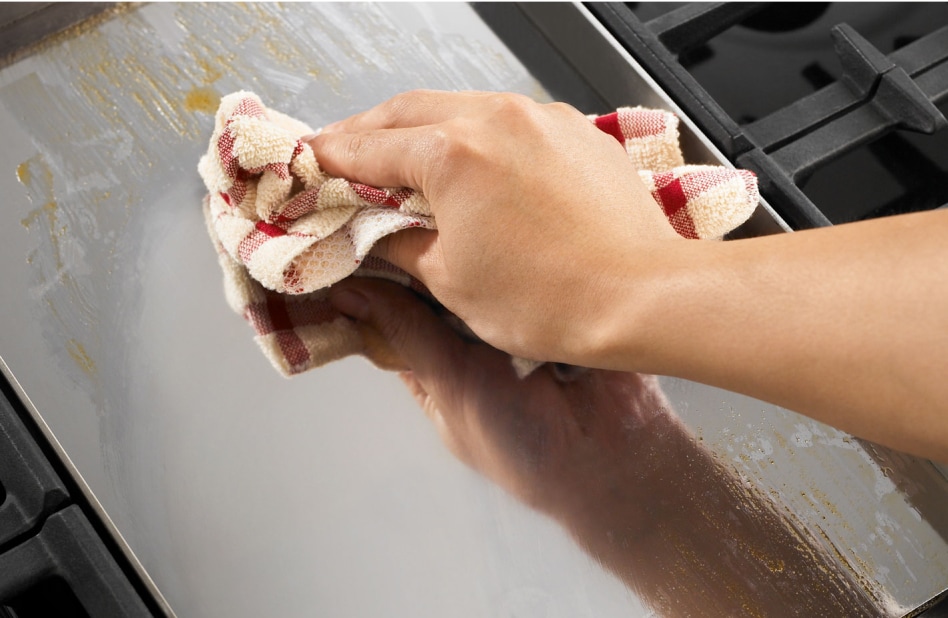
How to Clean Gas Stove Burners in 7 Simple Steps
Keep your outdoor cooking equipment performing at its peak with this comprehensive maintenance guide
Your outdoor cooking station deserves the same care and attention as any premium equipment. Over time, spills, grease buildup, and food residue can accumulate on burner components, affecting both performance and efficiency. Regular cleaning not only extends the life of your cooking equipment but also ensures optimal flame distribution and heat output for every outdoor meal.
This detailed guide walks you through the complete process of cleaning gas burners, from initial disassembly to final testing. Whether you're maintaining a backyard cooking setup or professional-grade outdoor equipment, these steps will help you achieve spotless, efficiently-operating burners.
Essential Supplies for Burner Cleaning
Cleaning Solutions:
- • Warm water mixed with gentle dish soap
- • White vinegar or degreasing solution
- • Baking soda paste (optional for stubborn stains)
Tools Required:
- • Soft cloths or microfiber towels
- • Non-abrasive scrub brush or sponge
- • Toothpick or thin wire for port cleaning
- • Clean towels for drying
- • Rubber gloves (recommended)
Important Safety Note: Always ensure your equipment has completely cooled down before starting any maintenance work. Disconnect the gas supply and verify all burners are at room temperature. Never attempt to clean hot surfaces, as this can cause serious burns or damage to components.

Step 1: Remove the Burner Caps and Burner Bases
Begin your cleaning process by carefully removing all burner components. Gently lift each burner cap straight upward to detach it from the base. These caps are typically designed to lift off easily without requiring any tools or force. Next, remove the burner bases using the same lifting motion.
Take a moment to observe how each piece is positioned before removal. Consider taking a quick reference photo with your phone to help with reassembly later. This simple step can save time and prevent confusion when putting everything back together.
For equipment with multiple burners of different sizes, it's helpful to keep components organized by burner location. This ensures each piece returns to its proper position, maintaining optimal performance across all cooking zones.
Step 2: Clean the Burner Caps and Bases
Now it's time to tackle the accumulated grime on your burner components. Prepare a cleaning basin with warm water and a few drops of mild dish soap. Submerge the burner caps and bases, allowing them to soak for several minutes. This soaking period helps loosen baked-on food particles and grease, making the scrubbing process much easier.
After soaking, use a non-abrasive sponge or soft brush to gently scrub all surfaces. Pay special attention to any grooves, ridges, or textured areas where residue tends to accumulate. For particularly stubborn spots, create a paste using baking soda and a small amount of water, then apply it directly to the affected areas and let it sit for a few minutes before scrubbing.
Pro Cleaning Tip: Avoid using harsh abrasive cleaners or steel wool on burner components, as these can scratch surfaces and damage protective finishes.
For weekly upkeep, a quick wipe-down immediately after the burners cool prevents buildup and reduces the need for intensive cleaning sessions.
Step 3: Clean the Gas Tube Opening Beneath the Base
With the burner components removed, you now have access to the gas tube openings located beneath where the burner bases sit. These openings are critical for proper gas flow and flame performance, yet they're often overlooked during routine cleaning.
Using a damp cloth, carefully wipe around each gas tube opening to remove any food debris, grease, or dust that has accumulated. Exercise caution to avoid forcing any debris into the gas tube itself. If you notice any particles lodged in or near the opening, use a toothpick or thin brush to gently dislodge them, then wipe clean with your cloth.
Never spray cleaning solutions directly into the gas tubes or submerge this area in water. The goal is to clean the surrounding surface while keeping the internal gas delivery system dry and free from any liquid contamination. A slightly damp cloth provides sufficient cleaning power without risking damage to sensitive components.
Step 4: Gently Clean the Igniter with a Damp Cloth
The igniter is a delicate yet essential component that creates the spark to light your burners. Located near each burner base, these small ceramic or metal protrusions require gentle care during cleaning. Use a lightly dampened soft cloth to carefully wipe away any grease or food residue from the igniter surface.
Be extremely gentle during this process, as igniters can be fragile and may crack or break if handled roughly. Never use abrasive materials or apply excessive pressure. The goal is simply to remove any coating that might prevent proper sparking. A clean igniter ensures reliable lighting every time you use your cooking equipment.
After cleaning, allow the igniter to air dry completely before reassembling the burner components. Any moisture remaining on the igniter can interfere with its ability to create a spark.

Step 5: Clean Clogged Burner Ports
Burner ports are the small holes or slots around the burner head through which gas flows to create the flame. Over time, these tiny openings can become blocked with burned-on food, grease, or mineral deposits, leading to uneven flames or difficulty lighting the burner.
To clear these ports, use a straightened paper clip, toothpick, or specialized burner cleaning tool. Gently insert the tool into each port, working carefully to dislodge any debris without enlarging or damaging the opening. Work your way around the entire burner head, checking each port individually.
After clearing the ports, wipe the burner surface with a damp cloth to remove any loosened debris. For particularly stubborn blockages, you may need to soak the burner head in warm soapy water before attempting to clear the ports. Just ensure everything is thoroughly dried before reassembly.
Maintenance Insight: Clear burner ports are essential for even flame distribution. If you notice yellow flames instead of blue, or if flames are concentrated in certain areas, clogged ports are likely the culprit.

Step 6: Reinstall the Burner Bases and Caps
Once all components are thoroughly cleaned and completely dry, it's time to reassemble your burners. This step is crucial for ensuring proper operation and safety. Begin by confirming that every piece is totally dry—any residual moisture can interfere with ignition or cause performance issues.
Start by placing each burner base back onto its corresponding gas tube opening. The base should sit flat and stable, properly aligned with the opening below. You'll feel it settle into place when positioned correctly. If you took reference photos earlier, now is the time to consult them.
Next, place the burner caps on top of the bases. Each cap should fit snugly and sit level without wobbling or tilting. Misaligned caps can result in uneven flames or poor ignition. Take a moment to ensure each burner cap is properly seated before moving on to testing.
Assembly Checklist:
✓ Ensure the igniter area is completely dry and free from cleaning solution
✓ Verify burner bases are properly aligned with gas openings
✓ Confirm burner caps sit flat without tilting or gaps

Step 7: Turn On the Gas Burners
The final step is testing your freshly cleaned burners to ensure everything is functioning properly. Restore the gas supply if you disconnected it earlier, then attempt to light each burner one at a time. A properly reassembled burner should ignite quickly and produce an even, blue flame all the way around the burner head.
Watch carefully as you test each burner. The flame should be consistent in height and color, without any yellow tinting or irregular patterns. If you notice any issues such as delayed ignition, uneven flames, or difficulty lighting, turn off the gas immediately and recheck the assembly of that burner.
Common issues after cleaning typically stem from improper cap alignment or moisture remaining on the igniter. Double-check that caps are correctly positioned and give the igniter additional drying time if needed. Once all burners light properly and display even blue flames, your cleaning process is complete and your equipment is ready for use.
How Frequently Should You Clean Gas Burner Caps?
The ideal cleaning frequency for your gas burners depends on usage patterns and cooking habits. As a general guideline, burner caps and bases benefit from thorough cleaning every few weeks when used regularly. However, if you frequently cook foods that splatter or boil over, weekly cleaning may be more appropriate.
For those who use outdoor cooking equipment seasonally, a deep cleaning at the beginning and end of each season helps maintain optimal performance. Additionally, spot-cleaning spills immediately after the equipment cools prevents buildup and makes regular maintenance much easier.
Recommended Cleaning Schedule:
Light Daily Use: Deep clean every 3-4 weeks
Heavy Daily Use: Deep clean weekly, with quick wipe-downs after each use
Seasonal Use: Deep clean before first use and after last use of season
Occasional Use: Deep clean every 2-3 months or as needed
Professional Tips for Reinstalling Burner Caps After Cleaning
Proper reinstallation is just as important as thorough cleaning. Taking a few extra moments to ensure correct assembly prevents performance issues and extends the life of your equipment. Here are some expert insights to guarantee successful reassembly every time.
Always allow sufficient drying time—rushing this step is one of the most common mistakes. Even if components appear dry on the surface, moisture can remain in crevices or ports. Consider allowing cleaned parts to air dry for at least an hour, or use a clean towel to thoroughly dry each piece before reinstallation.
When positioning burner caps, look for alignment guides or notches that indicate correct placement. Many caps have a specific orientation and won't function properly if rotated incorrectly. The cap should feel stable and sit completely flush with no rocking or gaps.
If a burner fails to light after reassembly, resist the temptation to force anything into place. Instead, remove the components and start fresh, carefully checking each step. Most post-cleaning issues resolve with proper alignment and ensuring all parts are bone dry.
Upgrade Your Outdoor Cooking Experience
Looking for reliable, easy-to-maintain cooking equipment for your backyard? Explore our professional-grade hot plates designed for outdoor enthusiasts.
CookRite Hot PlatesFinal Maintenance Recommendations
Maintaining clean gas burners isn't just about aesthetics—it's essential for safety, efficiency, and optimal cooking performance. By following this seven-step cleaning process regularly, you'll ensure your outdoor cooking equipment operates at peak performance for years to come.
Remember that prevention is always easier than correction. Wiping up spills promptly, avoiding harsh chemicals, and performing quick maintenance after each use can dramatically reduce the need for intensive deep cleaning sessions. Your equipment will thank you with reliable ignition, even flame distribution, and efficient fuel consumption.
Whether you're grilling for a family gathering or preparing a weeknight meal outdoors, clean burners make all the difference. Keep this guide handy for reference, and make burner maintenance a regular part of your outdoor cooking routine. With consistent care, your gas burners will continue delivering excellent cooking results season after season.