


 Damage
  Loss
Loss  Theft
Theft 


Ductless Mini-Split Installation: Why It's Not a DIY Project
The appeal of a DIY installation is real — you save money, you feel accomplished, and it looks straightforward on paper. But when it comes to ductless mini-split systems, skipping a certified technician can cost far more than the savings. Here's a complete breakdown of how these systems work, how they're installed, and why the final step belongs in professional hands.
How Does a Ductless Mini-Split Actually Work?
Unlike central HVAC systems that push air through ductwork, a ductless mini-split moves heat — not air — between two units. A refrigerant circulates between an outdoor compressor and one or more indoor air handlers, extracting heat from inside during summer and pulling warmth from outside air during winter. This elegant heat-transfer mechanism is what makes mini-splits so incredibly energy efficient.
The indoor unit is typically wall-mounted at a high position and connected to the outdoor compressor via a small conduit running through an exterior wall. The refrigerant level in the system is automatically adjusted through compression and expansion cycles, which is why these systems cool and heat so precisely without temperature swings.
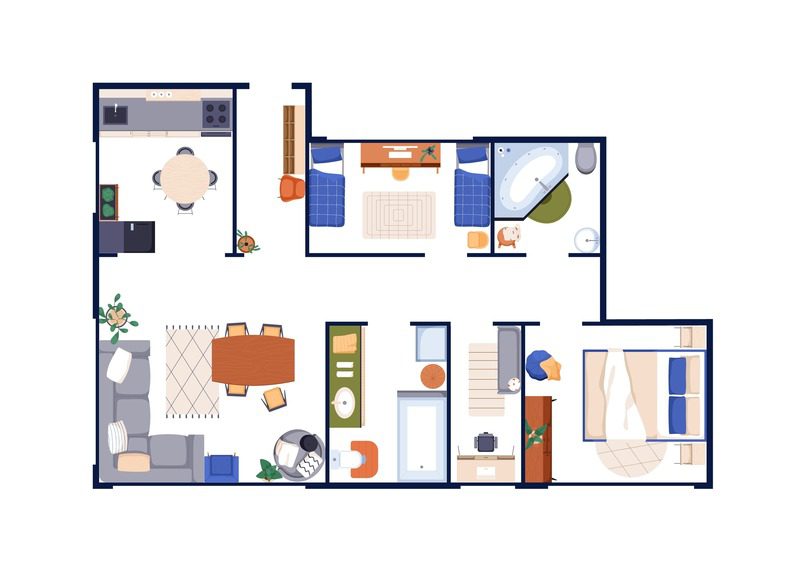
Start With a Quote & Layout Plan
Before any equipment is purchased or walls are drilled, sit down with a certified HVAC professional. They will assess the square footage of each room, the number of indoor units needed, and where the outdoor compressor should be positioned for maximum efficiency. Getting this planning phase right prevents expensive corrections down the line.
Pro Tip: Zone Planning Matters
Many homeowners underestimate the importance of proper zone mapping. Installing too few indoor units in a large open space — or too many in small rooms — leads to uneven comfort and unnecessary energy consumption. A professional can design a layout that balances coverage with efficiency from day one.
Positioning the Indoor Unit
The indoor air handler should be mounted in a location where airflow can reach the entire room without obstruction. Keep it away from direct sunlight, heat-producing appliances, or items that could block its sensors. The unit should sit high on the wall — typically within a foot of the ceiling — to allow conditioned air to cascade naturally downward and distribute evenly.
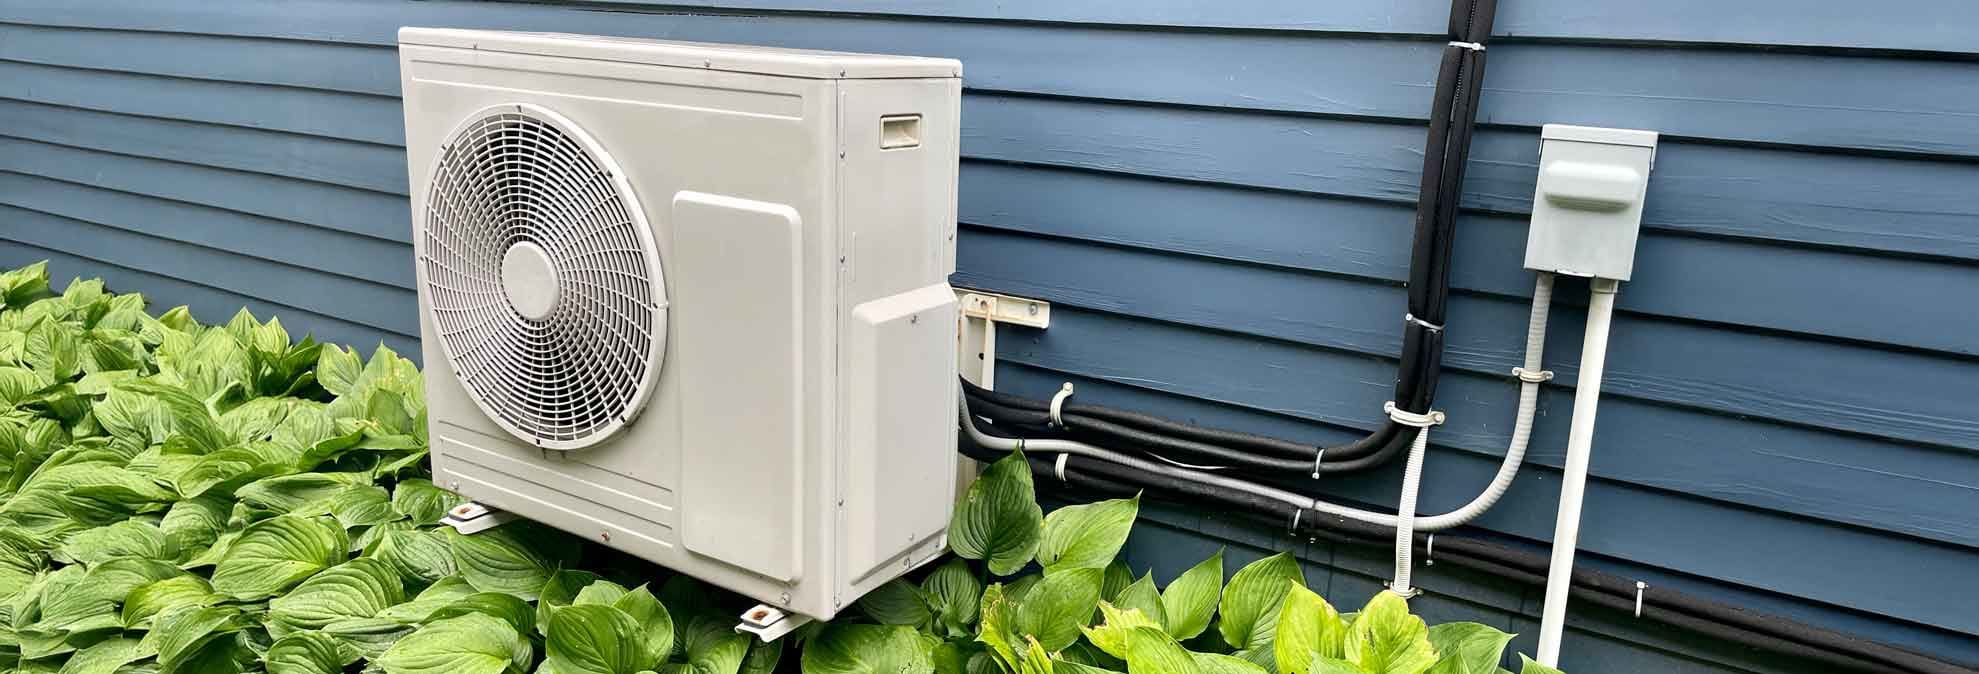
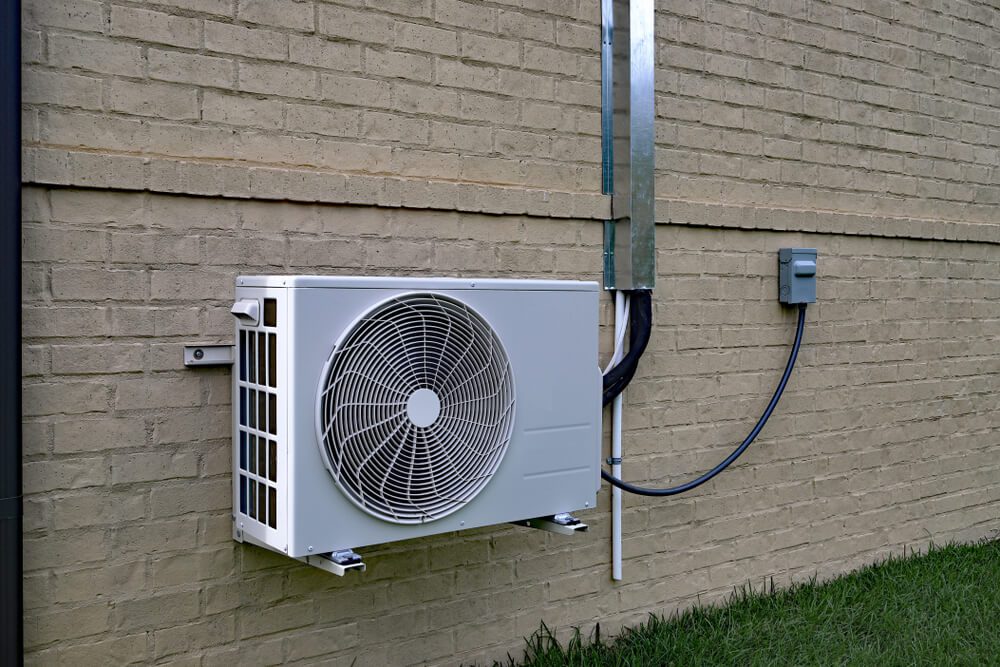
Positioning the Outdoor Compressor
The outdoor unit can go on a ground pad, a wall bracket, or a rooftop mount — whatever keeps it level and stable. It needs several feet of clearance on all sides for adequate airflow. Avoid placing it directly in full sun if possible, and never enclose it tightly without ventilation. The drainage line should direct condensate safely away from the unit's foundation.
Height Off Ground
Raise the compressor at least a few inches off the ground on a solid pad or mount to protect from flooding and debris buildup.
Clearance Space
Maintain recommended clearance on all sides — front, back, and sides — as stated in the product manual for proper airflow.
Shade When Possible
A slightly shaded location reduces workload during peak summer heat, improving efficiency and compressor lifespan.
Drainage Direction
Ensure the condensate line drains away from the unit's base and away from foot traffic or garden beds.
How a Professional Installs a Mini-Split System
While we strongly recommend certified installation for any refrigerant work, understanding the process helps you have more informed conversations with your technician and know what to expect on installation day.
Mount the Indoor Unit Bracket
A mounting plate is secured to a structurally sound section of the wall using heavy-duty hardware. Level placement at this stage is critical — a crooked mount affects drainage, airflow, and appearance permanently.
Drill the Wall Conduit Hole
A hole slightly larger than the refrigerant line set is bored through the exterior wall. It's angled slightly downward toward the outside to ensure proper condensate drainage from the indoor unit to the outdoors.
Run the Line Set & Wiring
Refrigerant lines, electrical wiring, and drainage tubing are bundled together and routed through the conduit hole. These are carefully threaded into both the indoor and outdoor units according to the wiring diagram.
Install the Outdoor Compressor
The outdoor unit is secured on its mount or pad, connected to the line set, and grounded per local electrical code. Anti-vibration pads are often added beneath the compressor feet to reduce operating noise.
Vacuum, Charge & Test
A vacuum pump removes all moisture and air from the refrigerant lines before the system is charged. This is the step that legally requires EPA 608 certification — no licensed technician, no legal refrigerant handling.
Running the Lines Safely
Once lines are threaded through the wall, they should be protected using a line set cover along the exterior of the home. These covers not only protect against UV degradation and weather but also give the installation a clean, finished look. Inside, any exposed wiring must be secured and meet local building code requirements.
Let the Certified Technician Handle the Final Steps
Homeowners can often handle site preparation — clearing the installation area, deciding on placement, and preparing the wall. But the refrigerant connection, line purging, pressure testing, and system startup must be handled by a certified HVAC professional. Handling refrigerant without EPA 608 certification is not just inadvisable — it's illegal.
Beyond legality, an improperly charged system delivers poor performance, short-circuits efficiency, and voids manufacturer warranties. A qualified technician will set up the unit, verify airflow calibration, confirm thermostat settings, and walk you through your new system before they leave.
What a Professional Completes at Startup
Gauge pressure testing, refrigerant charge verification, electrical connection checks, drain line confirmation, remote pairing, and a full operational test across both heating and cooling modes — all in a single visit when done right.
Controlling Your Ductless Mini-Split
Modern mini-split systems come with multi-function remotes that let you switch between cooling, heating, fan-only, and dehumidification modes. Many models also connect to smartphone apps, allowing control from anywhere. Some premium systems even integrate with smart home ecosystems for voice or automated scheduling.
Most systems also feature a self-cleaning mode that periodically dries the internal coil to prevent mold and odor buildup — one of the reasons mini-splits are increasingly favored for bedrooms and living spaces where air quality matters most.
Ready to upgrade your home comfort? The Senville AURA 18,000 BTU concealed duct mini-split combines whisper-quiet performance with year-round efficiency — engineered for whole-room comfort without visible wall units.
Senville AURA 18K BTU Mini SplitThe Right System, Installed Right
A ductless mini-split is one of the best investments you can make in home comfort and energy savings. Protect that investment with professional installation — and start with quality equipment built to last.
Shop Senville AURA 18K BTU